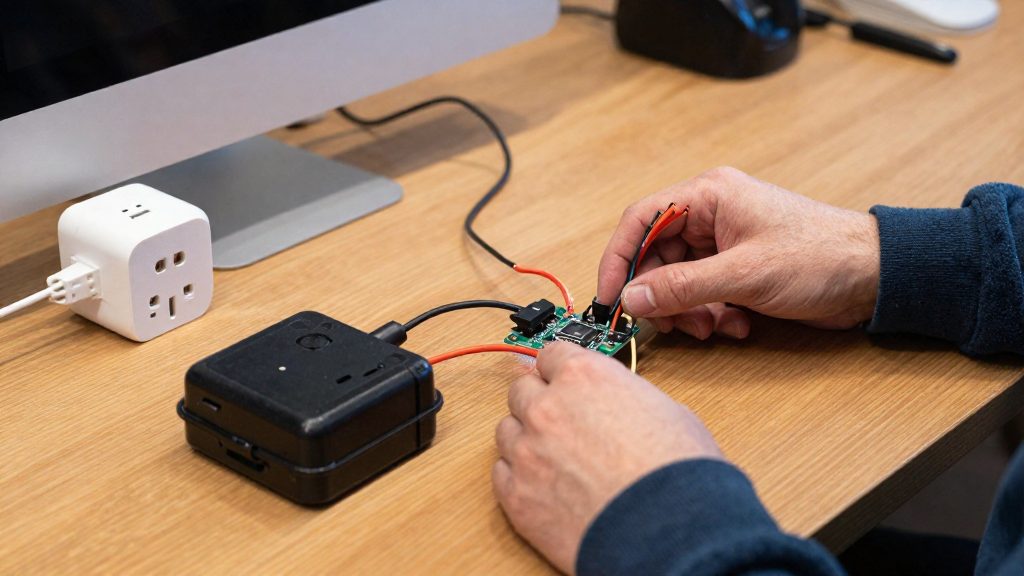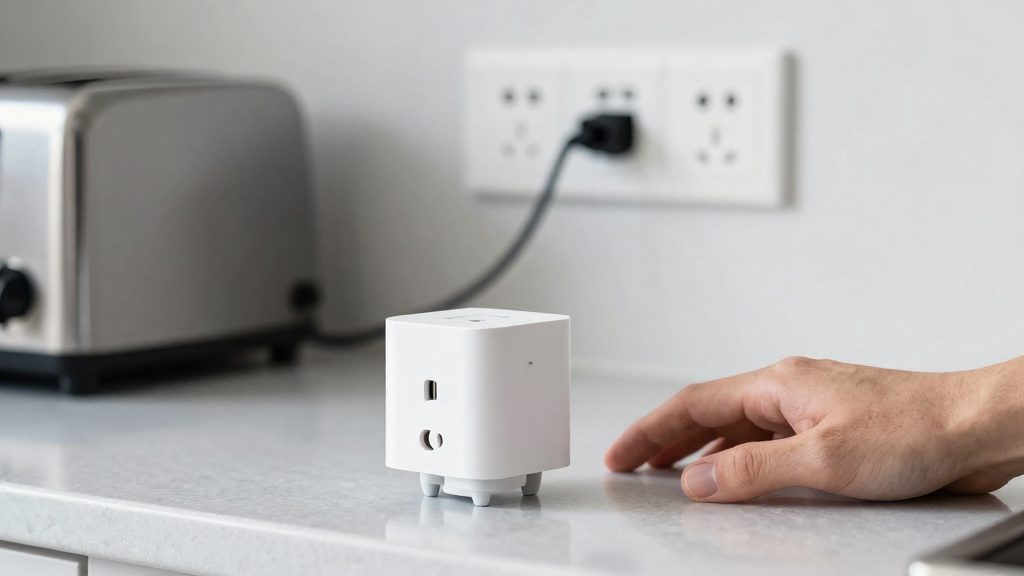
Build an ESP8266 plug yourself when you want energy data for individual appliances and remote on/off switching that you configure locally, without a vendor app or cloud account. It suits appliance-level tracking inside a Home Assistant setup. It cannot replace a commercial metering plug where a verified reading is required. The Aoycocr X10S page reports a self-draw of about 0.7–0.8 W, and its author expects only about ±10% accuracy on other units, so a homemade plug gives an estimate, not a billing-grade measurement.
Why build an ESP8266 smart plug energy monitor?
What a homemade plug tracks per appliance
A plug running ESPHome reports voltage, power and energy use to Home Assistant, so each appliance gets its own history. The Aoycocr X10S, an ESP8266 plug on the esp01_1m board, reports these values through ESPHome. The jpralves DIY plug adds current and temperature readings and on/off state, reported through the Cayenne app (jpralves.net, personal blog, 2017-10-11). Because every plug is a separate device, you can compare a fridge, a space heater and a router-free office lamp without installing a whole-home meter.
Remote switching and what happens after an outage
Remote switching works for individual appliances, but the power-loss behavior matters. The Refoss P11 ESPHome configuration uses restore_mode: RESTORE_DEFAULT_OFF, so the relay stays off after a power loss unless you change that setting (ESPHome Devices, 2026). An appliance you switch on remotely will not restart unattended after an outage.
Cost and local control compared with commercial metering plugs
The reference pages give no price figures, so compare hardware cost against the commercial model you are considering. The main difference is local control: the behavior of an ESPHome plug is set in YAML files you edit yourself, and the switching logic runs on your own setup rather than in a vendor app. Commercial metering plugs typically come with a finished app and support, which a DIY build does not provide.
Limits compared with commercial metering
- Billing use: None of the reviewed sources establish whether a home-built or reflashed plug is acceptable for billing or certification. Check with your local metrology authority, such as Measurement Canada in Canada, before using readings for billing.
| Plug | Platform | Reported capabilities |
|---|---|---|
| Aoycocr X10S | ESPHome (esp01_1m board) | Voltage, power and energy readings |
| Refoss P11 | ESPHome | Power monitoring; relay defaults to off after power loss |
| jpralves DIY plug | Cayenne app | Voltage, current, temperature, on/off state, energy use; thermal cutoff with SMS or email alert |
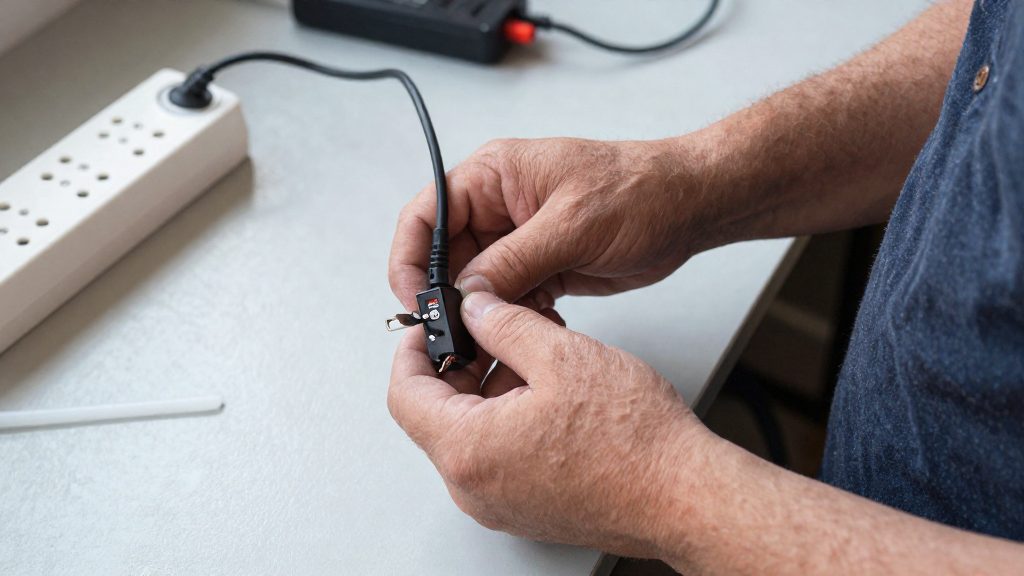
Which metering chip: HLW8012, BL0937 or CSE7766?
ESP8266 smart plugs use one of several power-monitoring chips, and the firmware must name the correct one for voltage, current and energy readings to be meaningful. The three chips in this context are the HLW8012, the BL0937 and the CSE7766. Each is handled differently in ESPHome, so identifying the chip is the first step.
| Chip | Device in the reference | Status | Recognition clue |
|---|---|---|---|
| HLW8012 | Aoycocr X10S (ESP8266, esp01_1m board in ESPHome) | Configured in ESPHome as HLW8012 | Default template values did not match the readings (ESPHome Devices, 2026) |
| BL0937 | Aoycocr X10S | Suspected by the page author, not confirmed (ESPHome Devices, 2026) | Would explain why the HLW8012 template values were off |
| CSE7766 | Refoss P11 (ESP8266) | Documented on the ESPHome device page (ESPHome Devices, 2026) | Serial data over UART on GPIO03 at 4800 baud |
Identifying the HLW8012 and BL0937
The HLW8012 is the default template choice for the Aoycocr X10S. The ESPHome Devices page (2026) reports that its readings did not match the default template values. The page author suspects the chip is actually a BL0937, which would explain that mismatch. Because this remains unconfirmed, do not assume either chip from the template alone.
- Check the device’s ESPHome entry for the configured chip type.
- If readings disagree with the default template, treat the chip type as an open question.
- Read the marking on the metering IC on the board, and compare it with manufacturer documentation, if you can open the plug safely.
Identifying the CSE7766
The CSE7766 on the Refoss P11 communicates over a serial link rather than pulse signals. According to ESPHome Devices (2026), it is read over UART on GPIO03 at 4800 baud. A UART line running at 4800 baud on GPIO03 is therefore the signature to look for when a plug uses this chip.
Reflash a commercial plug or build from scratch?
Reflashing a retail plug and building a custom board both produce an ESP8266 smart plug that reports energy use. Reflashing starts from a finished housing and an existing relay and metering circuit, so the work is confirming that the internal hardware matches the firmware you load. Building from scratch lets you choose every part, but it also makes you responsible for the mains-side wiring and enclosure.
Retail plug: firmware replacement and compatibility checks
ESPHome’s device catalogue documents two commercial plugs with different internals:
| Plug | Wi-Fi module | Metering chip (as documented) |
|---|---|---|
| Aoycocr X10S | ESP8266 (esp01_1m board in ESPHome) | Configured as HLW8012 (ESPHome Devices, 2026) |
| Refoss P11 | ESP8266 | CSE7766 (ESPHome Devices, 2026) |
Before flashing, check the following:
- Module type: confirm the board carries an ESP8266 and find the matching ESPHome board name.
- Metering interface: the firmware must use the same chip type and serial pins as the board.
- Board revision: the same model name can ship with different internals across revisions. Compare the revision printed on the board with the one the firmware page describes.
- Voltage rating: check that the plug’s rating matches your local mains supply. North American plugs are typically 120 V NEMA 5-15.
Custom board: parts and their roles
A from-scratch build needs three functional parts:
- ESP8266 module: runs the Wi-Fi connection and firmware.
- Relay: switches the load on and off under firmware control.
- Metering chip: measures voltage, current and energy.
Trade-offs: warranty, certification and enclosure reuse
| Factor | Reflashed retail plug | Custom board |
|---|---|---|
| Housing | Original manufacturer enclosure, with its insulation and layout | You select or design the enclosure |
| Warranty | Governed by the manufacturer’s terms; read them before opening the case | No manufacturer warranty applies to a home build |
| Certification | Opening and modifying the product may affect any original certification; verify before use | Your responsibility to confirm requirements with CSA Group or your provincial electrical authority |
| Mains safety | Existing spacing and insulation are already in place | You must verify spacing, insulation and enclosure yourself |
How do you calibrate the readings?
Calibration on the Aoycocr X10S works by comparing the plug’s raw readings with a reference meter, then mapping the raw values to the reference values. According to ESPHome Devices (2026), the page author used a Kill-A-Watt meter as the reference and applied the correction with calibrate_linear mappings. The resulting mapping is specific to that one unit and its configuration, so it cannot be copied to another plug without a new comparison.
Compare against a reference meter
- Plug the Kill-A-Watt into the wall outlet, then plug the smart plug into the Kill-A-Watt.
- Connect a known load to the smart plug and switch it on.
- Record the reference reading and the plug’s raw reading at the same moment.
- Repeat with the same load to confirm the readings are stable before you use them.
Map the raw voltage with calibrate_linear
The calibrate_linear filter converts a raw value into a corrected value using pairs of raw and reference numbers. The Aoycocr X10S page maps a raw voltage of 322.4 to a reference of 118.3 V. In ESPHome this goes under filters: (not filter:), and calibrate_linear needs at least two raw/reference pairs, so the snippet below shows only one point of a full mapping:
filters:
  - calibrate_linear:
      - 322.4 -> 118.3
      - <second raw value> -> <second reference value>
Each additional pair adds another calibration point. Use readings taken at different points in the range you plan to monitor, rather than a single pair.
Account for the plug’s own draw
A reference meter placed upstream of the plug records the plug’s own draw along with the load. When you compare readings at very low loads, subtract that baseline from the reference value before you calculate the mapping.
What are the mains safety risks in Canada?
A DIY ESP8266 smart plug switches mains power, so the main risks fall into three areas: unverified certification of the hardware, the boundary between mains and logic circuits, and overheating of the switched appliance. Each is covered below with the checks that can be verified.
Verify the CSA or cUL marking before any mains work
- Check the CSA or cUL mark on the commercial plug’s label before opening, rewiring or reflashing it.
- Whether a reflashed or home-built plug needs CSA or cUL certification for use in Canada is not confirmed by a primary reference here. Confirm with CSA Group or your provincial electrical safety authority before connecting it to Canadian mains.
- Treat any plug that has been modified as an unlisted device until its compliance is confirmed.
Insulation and enclosure separation between mains and logic
- The serial link from the metering chip is where the mains-side measurement reaches the low-voltage microcontroller, so the mains and logic sections must stay physically separated.
- No insulation clearance or creepage distance is given for ESP8266 plugs. Use the manufacturer’s enclosure and layout as the reference, and consult CSA Group or your local electrical authority for clearance rules.
Thermal cutoff design for overheating appliances
The DIY ESP8266 plug described by jpralves combines temperature sensing with a protective cutoff. The table lists the functions reported for that build.
| Function | What it does | Reported by |
|---|---|---|
| Temperature reading | Reports plug temperature alongside voltage, current and energy through the Cayenne app | jpralves.net (personal blog), 2017-10-11 |
| Thermal protection | Switches off an overheating appliance | jpralves.net (personal blog), 2017-10-11 |
| Alert | Sends an SMS or email when the cutoff triggers | jpralves.net (personal blog), 2017-10-11 |
- The build follows a simple pattern: read temperature, compare it with a threshold, open the relay, then notify the user. The threshold value and sensor placement are not specified in the reference.
- This is a single personal project, not a tested safety standard. Do not rely on it as the only overheating protection for a high-load appliance; a separate, certified thermal cutoff on the appliance is the safer option.
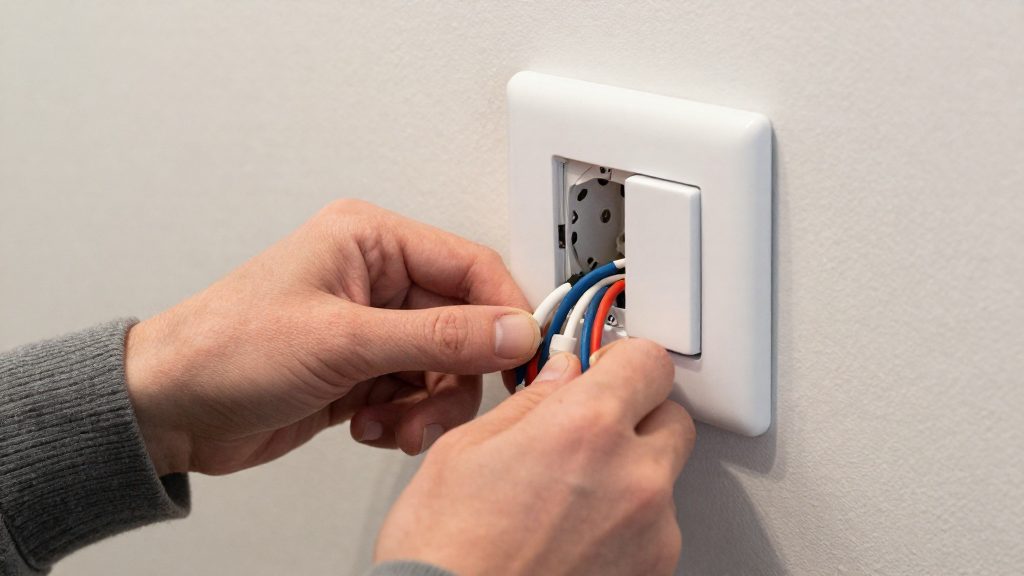
Connect the plug to Home Assistant with ESPHome
ESPHome compiles a YAML file into firmware for an ESP8266 board, and Home Assistant discovers the flashed device through its ESPHome integration. The cited device pages give the board, chip type and relay behaviour of two plugs. They do not give a full build sequence, so copy the complete YAML from the entry for your exact model. Two ESP8266 plugs documented on ESPHome Devices (2026) show how these settings differ between models.
Set the relay’s power-loss behaviour
The restore_mode option controls the relay state after a power loss. The Refoss P11 configuration uses RESTORE_DEFAULT_OFF, which keeps the relay off after power returns unless you change that line. Check this setting before you leave a plug connected to a fan, heater or other appliance that should not restart unattended. After flashing, cut and restore power to the plug, then confirm the switch state in Home Assistant.
Map the metering chip to its pins
Pin assignments depend on the metering chip, so copy them from the entry for your exact model rather than from a generic template.
- Aoycocr X10S: the board is declared as esp01_1m, and the metering component is configured as HLW8012.
Expose power, voltage, current and energy as sensors
Each measured value becomes its own Home Assistant entity once it is declared as a sensor in the YAML.
After you flash the device, open Settings, then Devices & services, then ESPHome in Home Assistant and confirm that each power, voltage, current and energy entity appears with its expected name. A missing entity may point to an absent sensor block in the YAML or a pin mapping that does not match the chip.
Is a DIY plug accurate enough?
A calibrated DIY plug can be good enough to estimate the running cost of individual appliances, but its readings remain estimates. The author of the Aoycocr X10S ESPHome page calibrated against a Kill-A-Watt meter and expects only about ±10% accuracy on other units. (ESPHome Devices, 2026)
Error sources
Two factors drive most of the error in a home-built reading:
- Self-consumption: The Aoycocr X10S draws about 0.7–0.8 W itself, which would amount to about 6.1–7.0 kWh per year (0.7–0.8 W × 8,760 hours). This matters most for standby loads, where the plug’s own draw is a large share of what is being measured.
- Per-unit variance: Readings depend on the individual unit, not only the design. The Refoss P11 page states that accurate energy readings require power monitoring calibration. (ESPHome Devices, 2026)
| Error source | Documented detail | Practical effect |
|---|---|---|
| Unit-specific calibration | Refoss P11 requires calibration | Each unit needs its own check against a reference meter |
When DIY readings suit cost tracking versus billing
| Use case | Suitable? | Basis |
|---|---|---|
| Estimating the running cost of an appliance over time | Yes | Estimate, read as a band rather than a fixed value |
| Spotting which devices draw the most energy | Yes | Relative comparison between devices |
| Billing, utility claims or formal disputes | Not established | No verified rules for home-built monitors were confirmed |