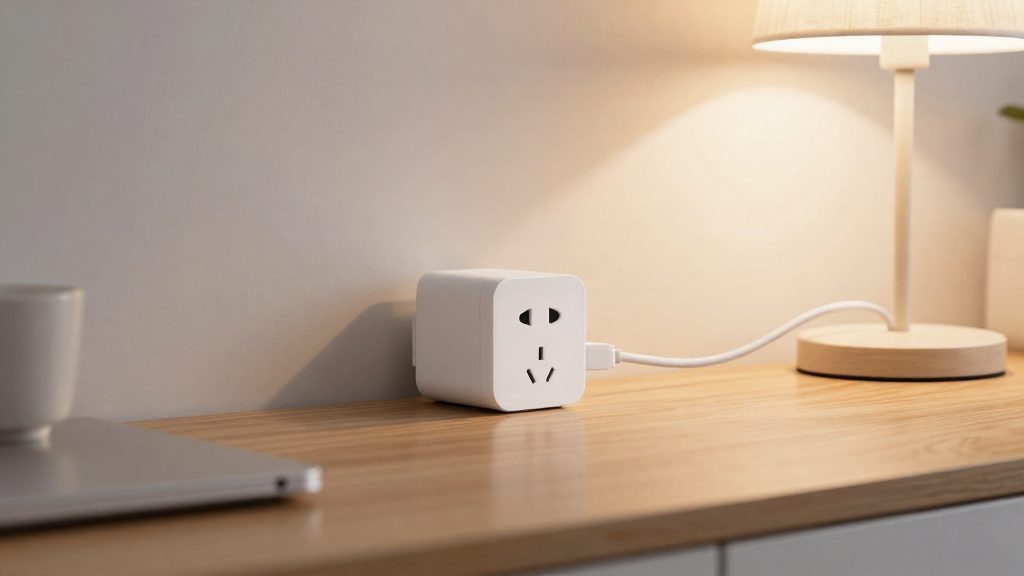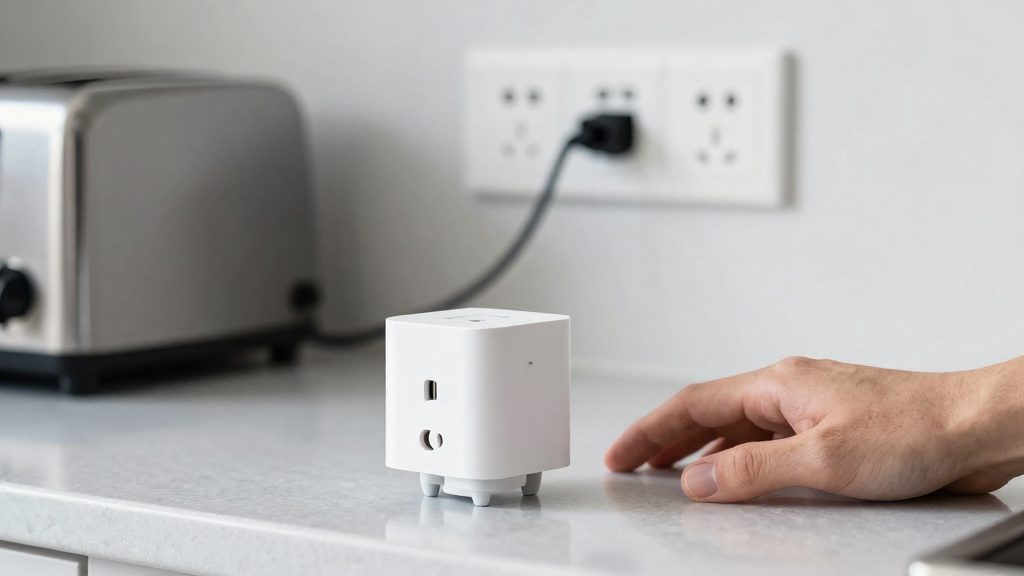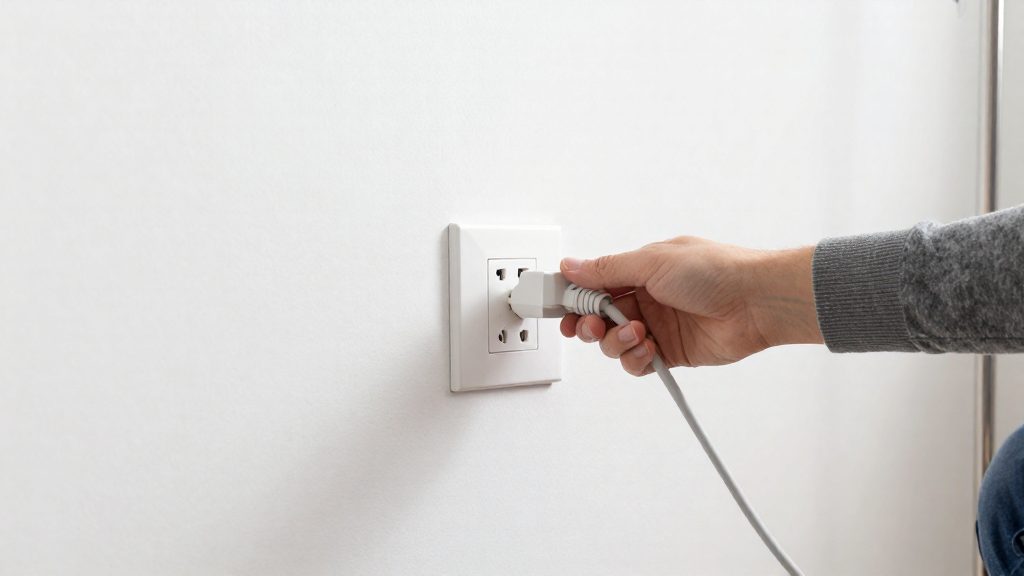
A smart plug measures appliance energy by sampling the voltage and current flowing through its outlet, multiplying them to get apparent power, applying the power factor to get real power in watts, and adding that power up over time to get kilowatt-hours. The Emporia Smart Plug does this continuously, 24/7, and assigns the running total to the appliance plugged into it. It reports the data to iOS and Android apps over 2.4 GHz Wi-Fi.
How a smart plug measures appliance energy
Voltage, current and power factor sensing
The plug sits in series between the wall outlet and the appliance, so all the power the appliance draws passes through its measurement circuit. Two quantities are sampled: the voltage at the outlet and the current the load draws. Their product is apparent power, expressed in volt-amperes (VA).
Power factor is the ratio of real power to apparent power. Loads with motors or reactive electronics draw current out of step with voltage, so their real power is lower than their apparent power. A plug that reports watts must account for this to show the power the appliance actually consumes. Sampling method and accuracy vary by model.
Instantaneous watts versus cumulative kilowatt-hours
The plug produces two different readings from the same measurements:
| Reading | Unit | What it shows | Typical use |
|---|---|---|---|
| Instantaneous power | watts (W) | Draw at the moment of sampling | Identifying active draw or standby draw |
| Cumulative energy | kilowatt-hours (kWh) | Total consumed since the counter started | Per-appliance totals and cost estimates |
Energy is power integrated over time: energy (kWh) = power (kW) × time (h). A 1 kW appliance running for 2 hours uses 2 kWh. The cumulative counter only increases, so a single watt reading cannot show how much energy an appliance used over a day.
How Emporia logs usage per appliance
The Emporia Smart Plug monitors usage 24/7 and tracks energy separately for each connected appliance. Each plug is its own measurement point, so the totals it logs belong to one device, not to a circuit or the whole home. The app receives real-time data, and the same app lets you schedule the appliance on or off.
Because monitoring never stops, standby consumption is added to the same cumulative counter as active use. Check the app’s history view to confirm how it groups and resets totals.
Which appliances can you track with a smart plug?
Each plug measures only the device plugged into it, so one plug per appliance gives one log per appliance. How readable that log is depends on how the appliance draws power.
| Load type | Typical examples | What the per-appliance log shows |
|---|---|---|
| Fixed-load | Lamps, fans, phone and laptop chargers | A steady draw while on and zero while off, so daily totals are easy to read |
| Cycling | Space heaters | Repeated jumps between high draw and zero as the heater’s own thermostat cycles |
| Standby | Chargers and audio equipment in idle mode | A small, low baseline during hours when the device seems off |
Fixed-load appliances
Fixed-load devices draw roughly constant power while switched on. A table lamp, a fan on a single speed, or a charger with a device attached produces a flat plateau in the log. You can match the plateau to the hours the appliance was on, which makes the energy figure straightforward to verify. Schedules set in the app, or through Alexa and Google Home, let you control on-hours and compare them with the recorded energy.
Cycling loads and their logs
Cycling loads switch on and off under their own thermostat or timer, so the power reading alternates instead of staying flat. The plug still records total energy, but the energy figure builds up in bursts. Reading the log over full days or weeks gives a more reliable picture than a single short window, because one cycle can dominate a brief observation.
Standby draw from chargers and audio equipment
Standby draw is the power consumed while a device is off or idle, such as a charger with no phone attached or audio equipment in standby. It appears as a small, persistent baseline in the log. The Emporia Smart Plug can cut standby power by scheduling the outlet off during set hours, which removes that baseline during the scheduled off hours, rather than only measuring it.
What to check before buying in Canada
Most of these checks can be done on the product itself before purchase: the printed electrical rating, the safety mark, and the network and voice assistant it needs. Confirming them first avoids returns and prevents connecting a plug to an appliance it cannot handle.
Voltage and maximum current on the label
The electrical rating is printed on the plug body or its packaging. Check these items:
- Rated voltage: must match the outlet where the plug will be used.
- Maximum current (amperes): the highest current the plug is rated to carry. Compare it with the rating on the appliance’s own nameplate.
- Maximum load (watts), if listed: confirm it exceeds the appliance’s normal draw. For high-draw devices such as space heaters, follow the manufacturer’s instructions and do not rely on a retailer summary.
For the Emporia Smart Plug, read these values from the unit’s label or the manufacturer’s documentation. Do not take them from a listing summary.
Certification marks
Look for CSA and cUL marks on the product or packaging. These indicate third-party safety certification for the North American market.
- Check the mark on the physical unit or box, not only in an online listing.
- Confirm the certification applies to the exact model number you are buying.
- If the mark is missing or unclear, contact your provincial electrical safety authority before connecting the plug.
Wi-Fi band and voice assistant compatibility
According to Emporia Energy (2026), the Emporia Smart Plug connects over 2.4 GHz Wi-Fi. Before buying, confirm that your home network broadcasts a 2.4 GHz band. A plug cannot join a network that offers only 5 GHz.
Emporia Energy (2026) also states that the plug works with Amazon Alexa and Google Home. Because this is a manufacturer claim, confirm compatibility in the Alexa or Google Home app, or in the manufacturer’s current compatibility list, before purchase.
How do you turn watts into dollars on your bill?
Your bill charges for kilowatt-hours (kWh), not watts. To convert a device’s usage into money, multiply its energy use in kWh by the rate your utility charges per kWh for the period when the device ran.
Multiplying kWh by your utility’s per-kWh rate
The basic calculation is:
- Cost = kWh × rate per kWh
Find the rate on your bill, usually labeled as an energy or supply charge per kWh. Use the rate that applies to the device’s runtime. Fixed or service charges do not change with the appliance’s use, so exclude them from this calculation. Some delivery or regulatory charges are billed per kWh, though. Check your bill or tariff sheet and include any per-kWh charge that applies to the energy the device used.
To convert a plug reading into kWh when you only know the wattage and hours:
- kWh = watts × hours ÷ 1000
For example, a device drawing 60 W for 4 hours uses 60 × 4 ÷ 1000 = 0.24 kWh.
Reading time-of-use rate tiers on your bill
Some utilities charge different rates depending on the time of day. Your bill or tariff sheet may list several rates, each tied to a time window such as peak, off-peak or shoulder periods. Check your utility’s published schedule for the exact hours and rates, since these vary by provider and region.
To apply tiered rates:
- Identify the time windows and the rate for each one from your tariff.
- Note when the device ran, using the timestamps in the Emporia app’s usage history if they are shown.
- Calculate kWh for each window separately, then multiply each by its matching rate.
- Add the results to get the total for that device.
Estimating monthly cost from daily runtime hours
For a recurring appliance, project the monthly cost from its daily runtime:
- Monthly cost = watts × daily hours × days ÷ 1000 × rate per kWh
Use the number of days in the billing cycle, and adjust for seasonal changes in runtime. For a device that runs on a schedule, the Emporia Smart Plug’s scheduling feature gives you a fixed daily runtime to plug into the formula. For devices with variable use, measure the actual kWh over one full billing period in the app, then compare it with the projection.
Setting up monitoring in the app or Home Assistant
The Emporia Smart Plug connects over 2.4 GHz Wi-Fi, and its real-time data and control run through the iOS and Android apps. Pairing in the app is the first step. Home Assistant is optional and only works if an integration exposes the plug’s readings.
| Step | What to do | What to confirm |
|---|---|---|
| Pair | Plug the device into a wall outlet, then add it in the Emporia app | The plug appears in the device list and shows its switch state |
| Name | Label it after the appliance, such as “Chest freezer” | The name matches the load plugged in |
| Schedule | Set on and off times in the app | The switch state changes at the set times |
| Expose | If an integration covers this plug model, add it to Home Assistant through that integration | Energy entities appear in Developer Tools > States |
Naming each device
Per-appliance readings only help if each plug’s name matches its load. Use the appliance name rather than the outlet location, and keep names unique, so that a dashboard card or automation can’t be attached to the wrong device.
Scheduling on and off routines
Scheduling is set in the app. Time the off window to periods when the appliance is not in use. Check the schedule the next day to confirm it ran as set.
Exposing energy entities in Home Assistant
Home Assistant only receives this data through an integration that supports the plug. Check the Home Assistant integrations list for Emporia and confirm which models it covers before you expect entities to appear.
Once the entities exist:
- Add a kWh sensor (a cumulative energy value in kilowatt-hours) to the Energy dashboard, since it expects total energy rather than instantaneous power.
- Build dashboard cards from the energy entities for each appliance, rather than a single combined total.
Are smart plug readings accurate?
Comparison only holds if the underlying readings are correct, so verify them before drawing conclusions from them. Look for a stated measurement tolerance, expressed as a percentage or a plus-or-minus figure. If none is listed, treat the readings as relative trends, not as values for billing or precise energy budgeting.
Comparing against a reference meter
To measure the error, use a reference meter that you have confirmed is calibrated, for example one with a current calibration certificate or a known accuracy class.
- Plug the reference meter into the wall outlet.
- Plug the smart plug into the reference meter.
- Plug the appliance into the smart plug.
- Run the appliance for the same period and record both readings at the same time points.
- Calculate the deviation as: (smart plug reading − reference reading) ÷ reference reading × 100.
Repeat the test on at least two different days so that one unusual run does not skew the result.
Load-dependent error
A single deviation figure is not enough, because error can change with the load. Test across the range of devices you plan to monitor:
| Load type | Example appliance | What to compare |
|---|---|---|
| Low draw | Charger left plugged in, standby device | Deviation over a long run, since small values amplify relative error |
| Mid-range | Lamp, fan, desk equipment | Deviation at a steady load |
| High draw | An appliance within the rated maximum load of both the smart plug and the reference meter (confirm on their labels or manufacturer documentation) | Deviation at peak power and whether the plug’s reported value tracks the reference meter |
When a smart plug isn’t enough
A plug-based meter such as the Emporia Smart Plug measures only the appliance plugged into it. Three situations call for a different method.
| Situation | Why a plug meter cannot measure it | Replacement method |
|---|---|---|
| Hardwired appliances with no plug, such as many dishwashers, garbage disposals, electric water heaters, and ducted HVAC equipment | There is no plug to insert the meter into | Circuit-level clamp monitoring at the electrical panel |
| Loads that draw more current than the plug is built for | The plug and meter cannot safely carry the load, and the reading is not usable for that device | Monitor the dedicated circuit with clamps, or run the appliance through a suitable connection that the manufacturer specifies |
| Several appliances on one circuit | A plug meter reports one device at a time, so the total for the circuit is unknown | Clamp monitoring gives the combined circuit total, which can be compared with individual plug readings |
Whole-home clamp-on monitoring
Clamp-on monitors use current sensors that fit around the conductors inside the electrical panel, one per circuit. They measure the current flowing through each circuit, so they cover hardwired equipment, large loads, and multi-appliance circuits without any device being plugged in.
- Installation: Opening a panel involves live conductors. Use a licensed electrician unless the manufacturer’s instructions clearly allow owner installation and you are qualified to follow them.
- Pairing with plug meters: Plug readings identify individual devices, while clamp data shows the total. Subtracting the sum of plug readings from a circuit total shows the load of the unmonitored equipment on that circuit.
- Data access: Clamp systems typically report to a companion app or a hub. Check the product documentation for supported platforms before buying.