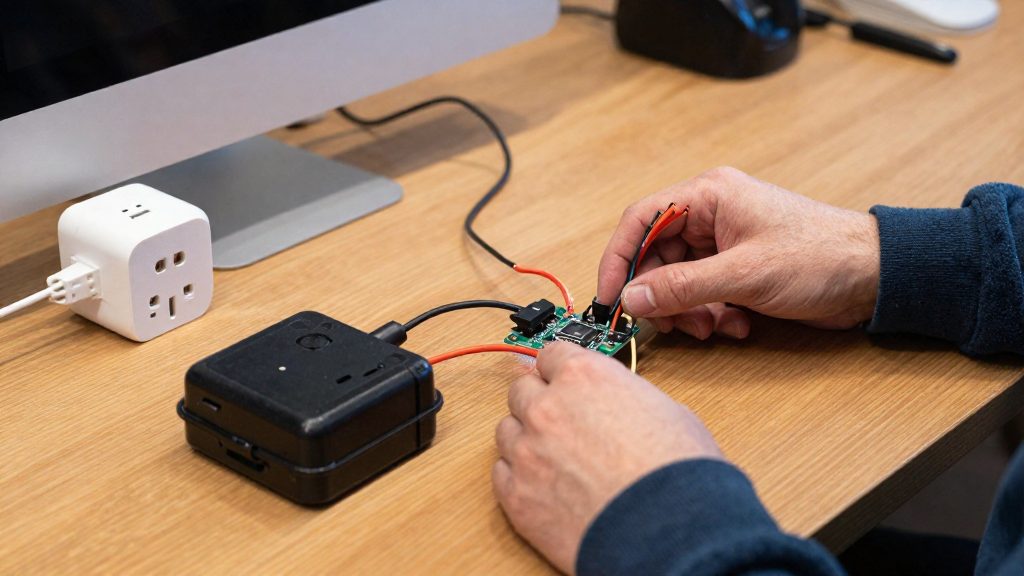
Before you write the image, prepare three items: a microSD card of at least 32 GB, a proper Raspberry Pi power supply, and an Ethernet cable for the first setup. According to Home Assistant (Open Home Foundation, 2026), the card should preferably carry the Application Class 2 (A2) rating, and the power supply must be strong enough for the board.
Hardware checklist
| Item | Requirement | Notes |
|---|---|---|
| microSD card | At least 32 GB | Preferably A2-rated for better random read and write performance |
| Power supply | A proper Raspberry Pi power supply | Phone chargers may not deliver enough power |
| Ethernet cable | Required for installation | Wi-Fi works after setup, but Ethernet is more reliable |
Sources: Home Assistant (Open Home Foundation, 2026).
microSD card
The minimum capacity is 32 GB. Choose a card with the A2 rating, which the docs recommend over a card without it. Check the card packaging or label for the A2 marking, since capacity alone does not indicate it.
Power supply
Use a proper Raspberry Pi power supply. Under-powered supplies cause instability, and the docs warn that phone chargers may not provide enough current. Do not power the board from a computer’s USB port. Check the product label for the rated output before you connect the board.
Ethernet cable
Connect the board to your router with an Ethernet cable during installation. This wired link is the most reliable path for first setup. Once the system is running, you can switch to Wi-Fi if needed.
Which Raspberry Pi works best?
Home Assistant officially supports installing Home Assistant OS on a Raspberry Pi 5 or a Raspberry Pi 4, provided the board has at least 2 GB of RAM (Home Assistant (Open Home Foundation), 2026). That 2 GB figure is the official minimum, so any Pi 4 or Pi 5 model at or above it meets the requirement. The Pi 5 is the newer board, and it is the one to pick when you plan a larger installation.
| Board | Official support for Home Assistant OS | Minimum RAM required |
|---|---|---|
| Raspberry Pi 5 | Yes | 2 GB |
| Raspberry Pi 4 | Yes | 2 GB |
Choosing RAM on a Raspberry Pi 5
The Raspberry Pi 5 is sold in several RAM sizes, and the 2 GB version already meets the official minimum. Check the current range with your retailer, and avoid any board below 2 GB. The 2 GB minimum sets the floor for a working installation, but it does not tell you how much headroom you will have. A higher RAM configuration gives more room for add-ons, a larger number of integrations and a bigger recorder database, so the choice depends on how many of those you intend to run.
The image must match the board, so the RAM configuration you buy does not change which image you select.
Flash Home Assistant OS with Raspberry Pi Imager
Raspberry Pi Imager can write the Home Assistant OS image directly to a microSD card, so you don’t need to download or extract the image yourself. According to Home Assistant (Open Home Foundation, 2026), the image is in a dedicated menu category, and you must pick the variant that matches your board. Both the Raspberry Pi 4 and the Raspberry Pi 5 have their own entry, so the choice happens before anything is written.
Menu path
| Step | Action in Raspberry Pi Imager |
|---|---|
| 1 | Open Other specific-purpose OS |
| 2 | Select Home automation |
| 3 | Select Home Assistant |
| 4 | Choose the version for your board: RPi 4 or RPi 5 |
| 5 | Select the SD card as the storage target |
| 6 | Click Write |
Choosing the RPi 4 or RPi 5 image
Read the board name on the Raspberry Pi itself, or on its packaging, before you open the menu. The Home Assistant entry is labelled by board, and the image is built for one board family. Selecting the variant that does not match your hardware means the card will not be prepared for the device you are installing on.
Writing to the SD card
The selected card is erased during the write. Any files on it are lost, so copy anything you need to another drive first, and confirm that Imager has selected the correct card before you click Write.
How do you first boot and reach Home Assistant?
After the microSD card is written and the Pi is powered on, Home Assistant OS starts and its web interface becomes reachable from a browser on the same local network. According to Home Assistant (Open Home Foundation, 2026), on a Raspberry Pi 4 or 5 the interface should appear at http://homeassistant.local within about a minute, and the documentation allows up to 5 minutes. Pi My Life Up (2025) reports first boots taking up to about 20 minutes, which may reflect an initial update and download. Wait for the full window before assuming a fault.
Access addresses
| Address | When to use |
|---|---|
http://homeassistant.local |
Default. Resolves by name on the local network, no port needed |
http://homeassistant.local:8123 |
Same device, with the web port written explicitly |
http://<Pi IP address>:8123 |
Fallback when the name does not resolve |
To find the IP address, open the list of connected devices in your router’s admin page and look for the Pi.
Fixing the address with a DHCP reservation
Pi My Life Up (2025) recommends a static address, ideally set as a DHCP reservation on the router rather than configured on the Pi itself. The router then keeps control of addressing, and the Pi keeps the same address after reboots.
- Note the Pi’s current IP address from the router’s connected-devices list.
- Create a DHCP reservation that binds this IP address to the Pi’s MAC address.
- Reboot the Pi and confirm that
http://homeassistant.local:8123and the reserved IP address both load.
Create your account and add devices
Onboarding ends with an owner account, and the first devices are added through integrations that Home Assistant already includes. Complete both steps before writing automations, because area and entity names are reused by dashboards, voice commands and routines.
Creating the owner account
The first user created during onboarding is the owner, with full administrative rights over integrations, backups and system settings. Use it for administration only.
- Choose a unique password and store it in a password manager.
- Use a personal username rather than a shared family login.
- Create additional users under Settings > People, so that household members do not need the owner credentials.
Discovering devices through built-in integrations
Home Assistant scans the local network for supported devices and lists the ones it finds under Settings > Devices & services, where you confirm each one to add it. Devices that are not detected can be added manually by selecting their integration from the same page.
Devices that rely on a radio protocol, such as Zigbee or Z-Wave, need a compatible coordinator connected to the Pi before Home Assistant can discover them. Check the manufacturer’s documentation for the integration name and any hardware requirement.
Add devices one at a time and test each one in the interface before adding the next. This makes it easier to identify which device causes a problem if one fails to respond.
Naming areas and entities consistently
Each device is assigned to an area, usually a room, and each entity receives an ID in the form domain.name. Applying one naming pattern across all devices keeps dashboards and automation editors easy to read.
| Element | Rule | Example |
|---|---|---|
| Area | Name it after the room | Kitchen |
| Entity ID | Domain, then area, then function | light.kitchen_ceiling |
| Friendly name | Plain-language label shown in the interface | Kitchen ceiling light |
| Plug or switch | Describe what it powers | switch.hallway_plug |
SD card, USB boot or Docker?
The main choice is where Home Assistant’s system files live and how they are written. The official installation path flashes Home Assistant OS to a microSD card, which is the simplest route. Two alternatives address the weak points of SD cards: moving the system to a USB drive, or running Home Assistant Container on a Linux system you manage yourself.
Reducing SD card writes with Log2RAM
Home Assistant constantly writes logs and state data, and flash storage tolerates a limited number of writes. According to Pi My Life Up (2025), Log2RAM reduces this wear by keeping log directories in RAM and writing them to disk less often. The trade-off is that logs held in RAM are lost during an unexpected power cut. Check the Log2RAM project documentation before installing it, and confirm that your setup supports it, since Home Assistant OS is a managed appliance image.
Booting from a USB drive
Pi My Life Up (2025) recommends booting the Raspberry Pi from a USB drive instead of an SD card, and the author states that USB storage is less prone to corruption. This is the author’s assessment, not a measured result. After you move the system to USB, set the Pi to boot from that device in its boot settings, and keep the SD card out of the slot so the Pi doesn’t boot from it by mistake.
Home Assistant Container versus OS
Home Assistant Container runs the core as a container on an operating system you install and maintain. The official documentation states that Home Assistant OS is recommended for most users.
| Aspect | Home Assistant OS | Home Assistant Container |
|---|---|---|
| Base system | Home Assistant’s own image | Your own Linux installation |
| Official recommendation | Recommended for most users | Alternative |
| Operating system updates | Handled by the image | Managed by you |
| Setup effort | Flash and boot | Install the OS, then the container |
Is Home Assistant on a Pi safe and private?
Security on a Raspberry Pi running Home Assistant depends mainly on three things: how devices reach the system, whether the web interface is exposed beyond your home network, and whether the operating system and add-ons stay current. The Pi itself is a local device, so the exposure comes from the configuration you choose.
Local control without mandatory cloud dependency
Devices that use local protocols such as Zigbee, Z-Wave, Thread or Matter can be controlled through the Pi on your own network. Commands do not have to pass through a manufacturer’s server. Support varies by product, so check each device’s documentation to confirm it works locally before you buy it.
Exposing the web interface to the internet
The interface is served on port 8123. Avoid forwarding that port from your router to the internet. A direct forward makes the login page reachable by anyone who scans for it. For remote access, use a VPN that connects you into your home network, or a remote-access service that the Home Assistant documentation describes.
Keeping the OS and add-ons updated
Apply operating system updates when they are released, since they include security fixes. Add-ons are separate software packages, so each one needs its own updates. Remove any add-on you no longer use, so it stops being a maintained component on your system.
Backups and common problems
Before reflashing or troubleshooting, make a full backup of your Home Assistant instance. A snapshot stores your configuration, add-ons and data, and it is what lets you restore your configuration if the SD card fails, provided a copy is stored off the card. Store the snapshot somewhere other than the card you are about to overwrite. Most failures on a Raspberry Pi come down to power or storage, so check those two first.
Creating and restoring full snapshots
- Create a full snapshot from the Home Assistant backup section of the interface and confirm it appears in the list before making any change.
- Copy the file off the SD card, for example to a computer or a network share. Pi My Life Up (2025) recommends regular backups for this reason.
- To restore, reinstall Home Assistant OS on a working card, then load the snapshot. Restoring replaces the current configuration, so only restore onto a fresh or disposable install.
Diagnosing undervoltage and boot loop symptoms
Symptoms of an unstable power supply include random reboots, a Pi that never reaches the web interface, and a boot cycle that restarts repeatedly.
Work through the checks in this order:
| Symptom | Check | Source |
|---|---|---|
| Interface not reachable after first boot | Wait a few minutes, up to about 20 on some setups | Home Assistant (2026); Pi My Life Up (2025) |
| Reboots or failed boots | Replace the power source with a proper Raspberry Pi power supply, and check the rating against the manufacturer’s instructions | Home Assistant (2026) |
| Storage errors or failed boot after power loss | Reflash the SD card (see below) | Home Assistant (2026) |
The first boot can take a while. Official documentation gives about 1 to 5 minutes, while Pi My Life Up (2025) reports up to about 20 minutes, which may reflect the update and download step. Do not power-cycle the Pi repeatedly during this window, because each interruption can add to the problem.
Reflashing a corrupted SD card
If the card is corrupted and the Pi no longer boots, reflash it:
- In Raspberry Pi Imager, go to Other specific-purpose OS > Home automation > Home Assistant.
- Choose the version for your board (RPi 4 or RPi 5) and select the SD card, then click Write.
- After the first boot, restore your backup from the onboarding screen or the backup section.