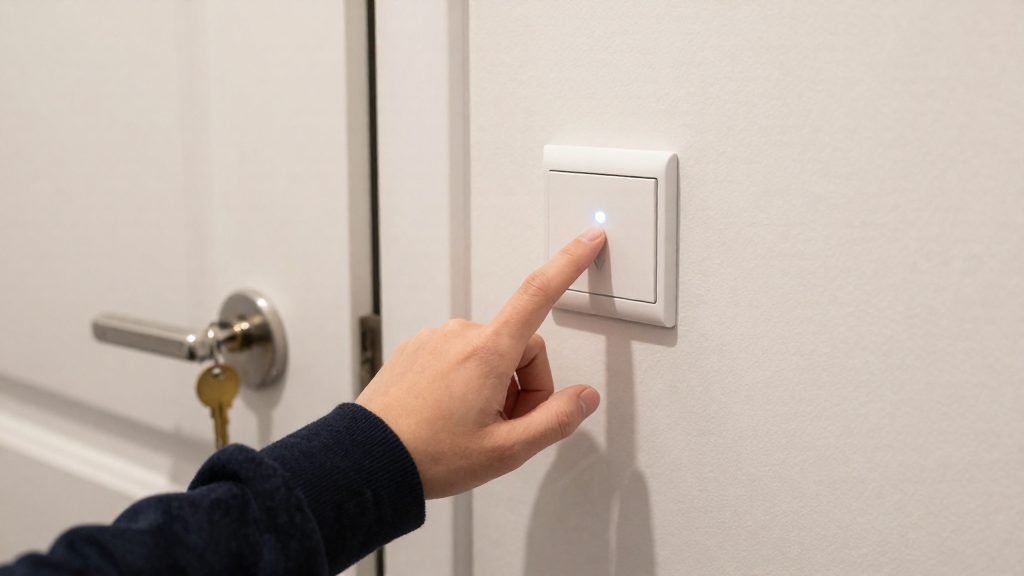
Scheduled locking closes the gap that remembering to lock the door leaves open. A time-based command locks the door at the same hour every night, whether or not anyone in the household recalls the final check. The main trade-offs are the loss of manual control at the scheduled time and dependence on a hub, cloud service or app staying connected.
Why automate locking the front door at night?
The risk of an unlocked door overnight
A door left unlocked overnight stays unlocked until someone notices, and most people notice only after they are already asleep. A scheduled command removes that dependence on memory.
Who benefits most
Scheduled locking is most useful where no one reliably locks up by habit:
- Households with irregular bedtimes, where the last person to bed changes from night to night.
- Shift workers, whose final entry or exit time shifts with the rota.
- Shared homes with several people using the same door and no fixed person responsible for the last check.
Each night-time approach differs in what it does when the time arrives:
| Approach | Trigger | Action | Source |
|---|---|---|---|
| Alarm-linked lock | Alarm armed | Locks the door | Level Home (2026) |
Trade-offs to weigh
- Loss of manual control: The lock acts at the scheduled time even if someone is still inside or leaves later than expected. Anyone who goes out after the trigger needs a manual way to unlock.
- Connectivity dependence: A schedule runs only while its platform is reachable. The IFTTT route, for example, requires the IFTTT account to be connected to the lock first, and an unconnected lock cannot be acted on by the applet.
Built-in auto-lock vs scheduled lock
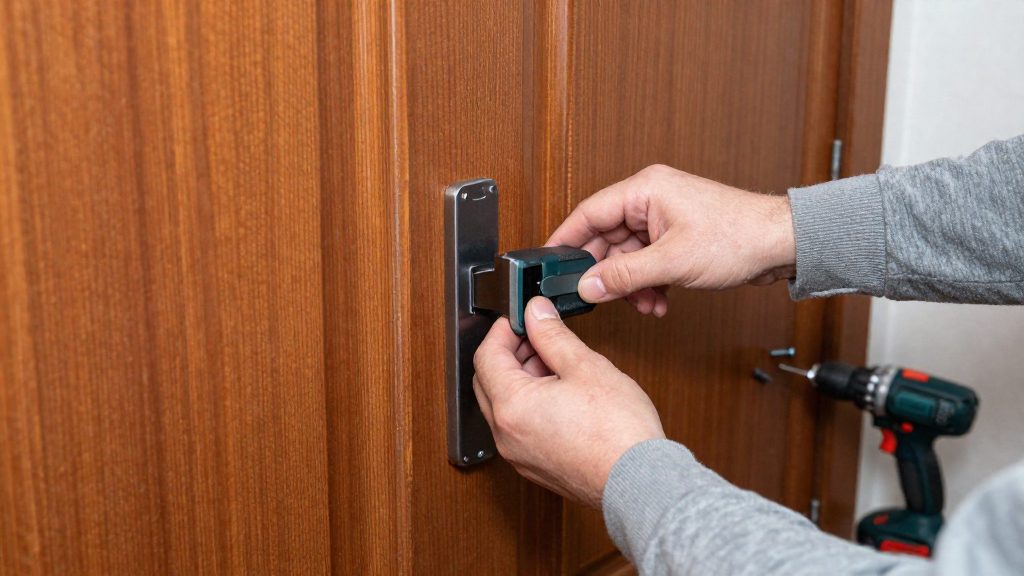
Two mechanisms can lock a front door at night, and they respond to different triggers. A built-in auto-lock is a countdown stored in the lock or its manufacturer app, and it starts from the last lock operation. A scheduled lock runs at a fixed clock time, such as 11:00 PM, regardless of how the door was used earlier. The right choice depends on whether you want the lock to react to activity or to a set time of day.
| Mechanism | Trigger | Documented example | Best fit |
|---|---|---|---|
| Auto-lock timer | Interval after the last lock operation | Kwikset Premis, adjusted in the Premis app | Doors used at irregular times |
| Scheduled lock | Fixed clock time | Kwikset via HomeKit | Predictable nightly routine |
Auto-lock timers counted from the last lock operation
Kwikset states that a Premis lock can auto-lock a set time after the last lock operation, and that this interval is adjusted in the Premis app (Kwikset, 2026). The countdown restarts with each lock or unlock event, so a door unlocked at 18:00 and then left alone locks after the configured interval, not at a fixed hour. This suits households whose arrivals and departures vary. The limit is that the timer offers no fixed nightly lock time: a late last operation means a late lock.
Home Assistant can build a similar relative delay. Its documentation gives an example where the back door lock is locked after it has stayed unlocked for 10 minutes (00:10:00) (Home Assistant, 2026).
Scheduled lock as a fixed clock time
Scheduled locking ignores recent activity. Kwikset notes that a Premis lock can be locked at a set time through a HomeKit automation in the Apple Home app (Kwikset, 2026).
A fixed time produces a predictable nightly result, but it does not wait for a late return. If someone unlocks the door shortly before the scheduled time, the lock still operates at that time.
How do you set a nightly lock in Home Assistant?
In Home Assistant, a nightly lock is a standard automation with a time trigger and a lock.lock action. The time trigger fires at a set clock time, and the action sends the lock command to the lock entity. Home Assistant’s documentation uses a front-door example: a time trigger at 23:00 runs lock.lock on the front door lock.
Build the automation in three parts:
| Part | What to set | Purpose |
|---|---|---|
| Trigger | Type time, time 23:00:00 |
Starts the automation at 23:00 every day |
| Action | Service lock.lock |
Sends the lock command |
| Target | Entity lock.front_door |
Selects the front door lock |
To create it in the interface, open Settings > Automations & Scenes, select Create automation, and add a time trigger. Then add an action, search for lock.lock, and choose your front door entity. Save the automation with a descriptive name so it is easy to find later.
The equivalent YAML, which you can paste in the automation editor’s YAML mode, looks like this:
alias: Lock front door at night
triggers:
  - trigger: time
    at: "23:00:00"
actions:
  - action: lock.lock
    target:
      entity_id: lock.front_door
Code data field: Some locks require a PIN for remote operation. If yours does, add a data block under the action with the code, as shown below. Replace the placeholder with your lock’s user code.
  - action: lock.lock
    target:
      entity_id: lock.front_door
    data:
code: "1234"Using IFTTT or HomeKit to schedule a Kwikset lock
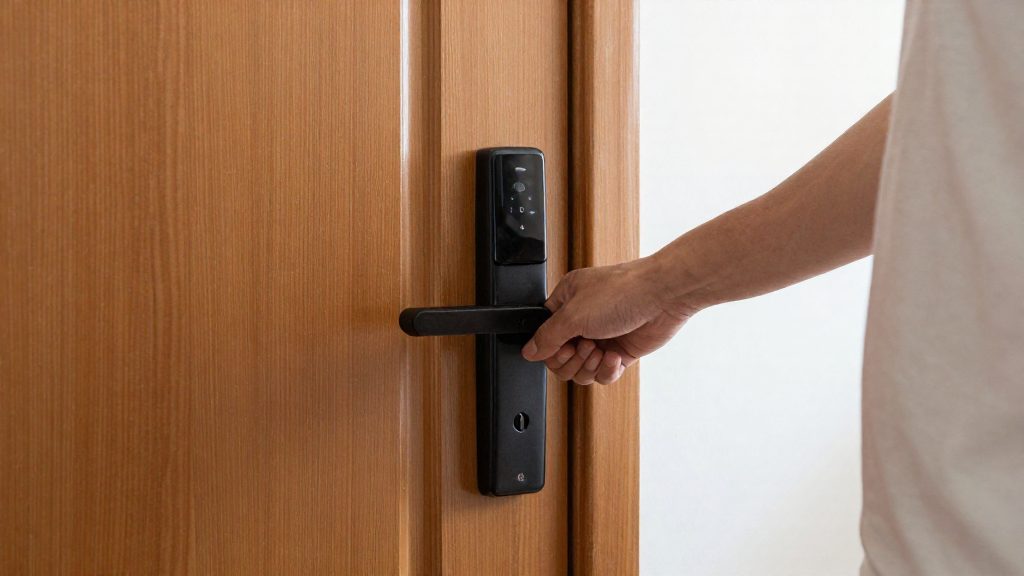
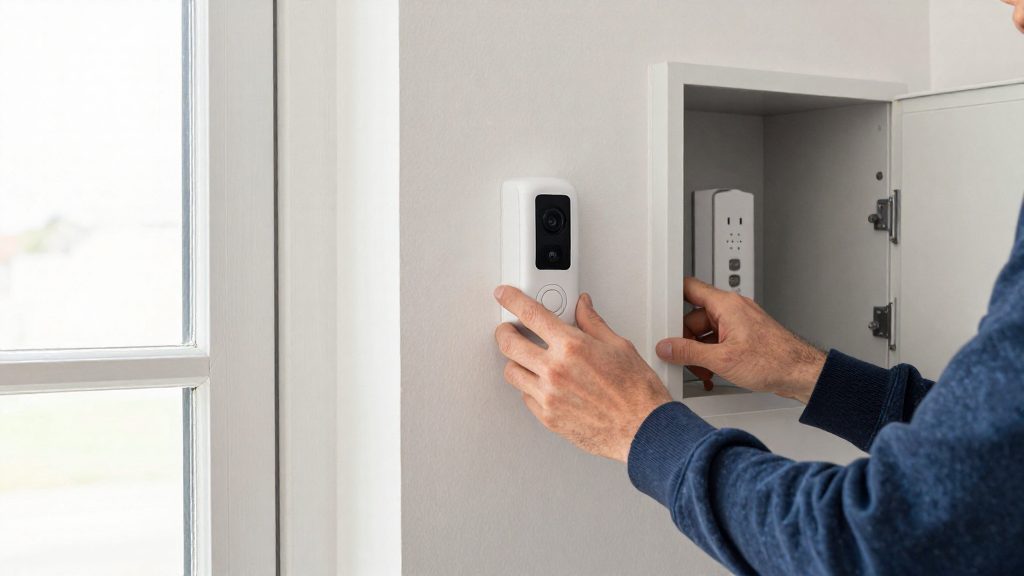
A smart lock can be locked at a fixed time through either a cloud-based service or the lock’s own platform automation. Kwikset documents two routes for its smart locks: an IFTTT applet that runs every day, and a HomeKit time-based automation created in the Apple Home app. Both send a lock command at the time you set, so the right choice depends on which ecosystem already controls your home.
IFTTT Date & Time trigger with Kwikset “Lock my door”
Kwikset states that you can create an IFTTT applet that locks its smart lock at a set time every day. The trigger is IFTTT’s Date & Time service, and the action is the Kwikset “Lock my door” command. The applet is set up in IFTTT rather than in the Apple Home app.
To build the applet:
- Create a new applet in IFTTT.
- Set the trigger to the Date & Time service and choose the daily time.
- Set the action to the Kwikset service and select “Lock my door”.
- Choose your lock if prompted, then turn the applet on.
Connecting the IFTTT account to the lock first
Kwikset says the IFTTT account must first be connected to the lock. Kwikset says the IFTTT account must be connected to the lock before the applet can act on it. If the lock action does not work, check that connection first. If the action is missing, check the connection before changing the applet itself.
HomeKit time-based automation in Apple Home
Kwikset says a Premis lock can be locked at a set time through a time-based automation in the Apple Home app. In Apple Home, you create an automation with a time condition and a lock action for the Premis lock. This route needs no IFTTT account, but the lock must be available in Apple Home.
| Aspect | IFTTT | Apple Home (HomeKit) |
|---|---|---|
| Trigger | Date & Time, daily at a set time | Time of day in an automation |
| Lock action | Kwikset “Lock my door” | Lock action on the Premis lock |
| Prerequisite | IFTTT account connected to the lock | Lock available in Apple Home |
Add a door sensor so it doesn’t lock while open
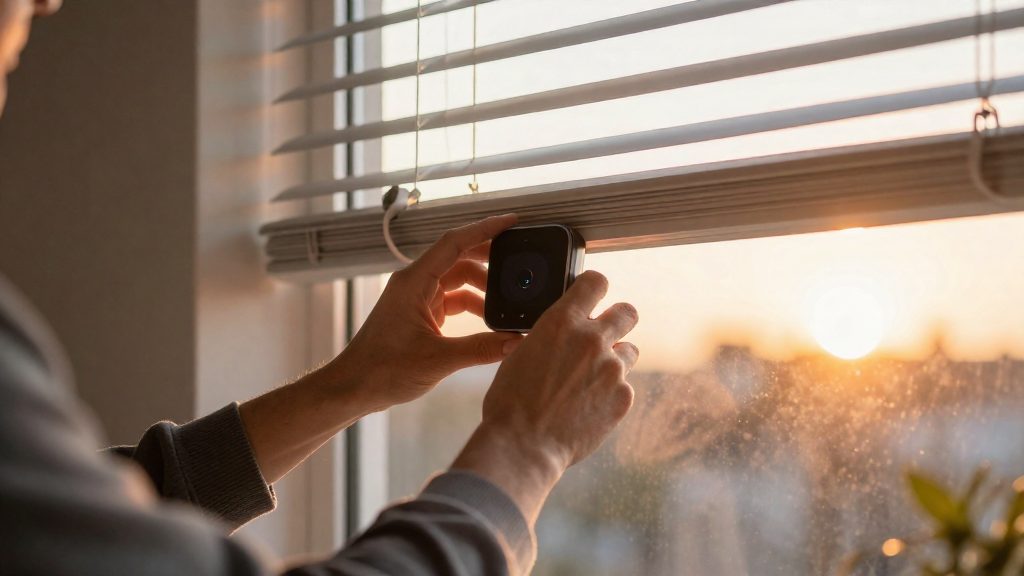
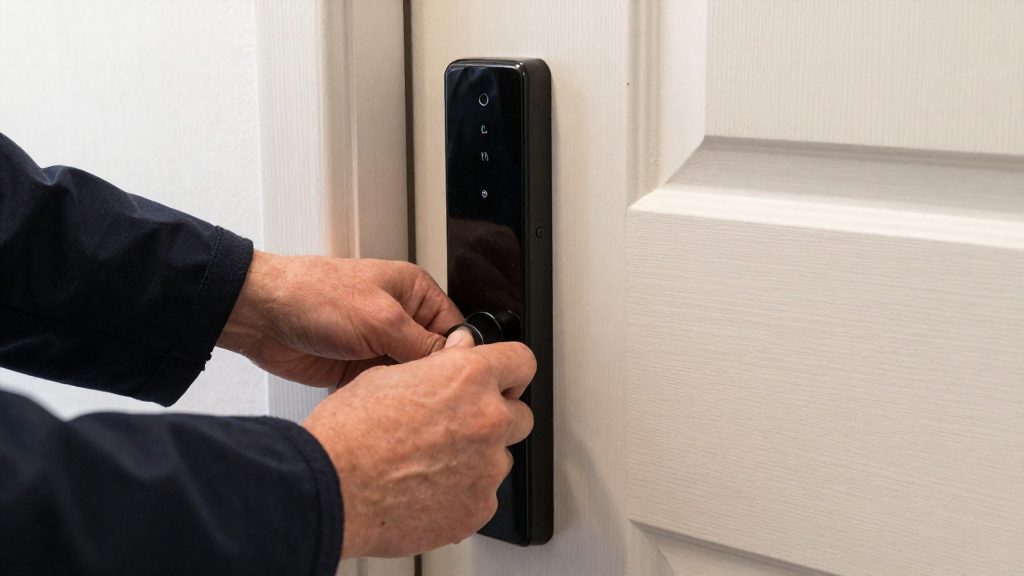
A contact sensor tells the automation whether the door is physically closed. Without it, the lock command is sent regardless of the door’s position, and the bolt can strike the frame or leave the door latched while someone is still passing through. Adding a state condition that checks the sensor before the lock action runs lets the automation skip the lock when the door reads open.
Place the contact check before the lock action as a condition the automation must pass:
condition:
  - condition: state
    entity_id: binary_sensor.front_door_contact
    state: "off"
action:
  - action: lock.lock
    target:
      entity_id: lock.front_door
Before writing the condition, open Developer Tools in Home Assistant and watch the sensor’s state while you open and close the door. Many door contact sensors report on when open and off when closed, but this depends on the device and its configuration, so confirm the value on your own hardware. Use the exact state you observe in the condition.
Sensor placement on the door frame and gap
The sensor has two parts: a magnet on the door and a sensor body on the frame. Their alignment determines whether the closed state registers reliably.
- Mount the magnet on the door edge and the sensor body on the frame, with the magnet’s marked face directly opposite the sensor.
- Keep the gap between the two parts within the maximum listed in the manufacturer’s manual. Gap limits differ between models.
- Test the placement by closing the door fully and checking the state reading, then by pushing the door gently to confirm it still reads closed.
- Avoid mounting the sensor where door movement or the strike plate can shift it over time.
What if the lock fails or the door is left open?
A nightly lock routine only protects the home if it can recover from two situations: a door left unlocked, and a lock command that does not complete. In Home Assistant, the first case is handled with a relock timer. Its documentation gives an example where the back door lock is locked after it has stayed unlocked for 10 minutes (00:10:00) (Home Assistant, 2026). The same pattern works for a front door: a state trigger fires when the lock reports unlocked, waits for the set duration, then calls lock.lock on the same entity.
As covered above, a Premis lock’s built-in auto-lock, adjusted in the Premis app, can relock a door even if the automation platform is offline. This covers a door left unlocked even if the automation platform is offline.
For the second case, verify the status entity rather than assuming the command worked. Check that the lock entity, such as lock.front_door, reports locked after the action. If it still reports unlocked, the routine should send a notification or trigger a fallback step.
Level lists a visual warning for the same problem: a 9 PM alert light that signals a door is still unlocked (Level Home, 2026). This gives occupants a visual cue to lock the door by hand.
Good Night scenes and alarm triggers
A Good Night scene groups several actions under one trigger, so a single voice phrase or event runs the whole bedtime routine. Level Home lists two triggers for this kind of routine: a voice “Good Night” command that locks all doors, and locking when the alarm is armed (Level Home, 2026). Both work without a fixed clock time, which separates them from scheduled locks.
Voice “Good Night” command
A voice command that locks all doors is the simplest scene to build. You say one phrase, and the assistant sends lock commands to every lock in the scene. Check that each lock is linked to the same voice assistant account and is assigned to the room or group the scene uses. A lock left out of that group stays unlocked after the phrase, and the scene reports success anyway.
Locking when the alarm is armed
Tying the lock to the alarm’s armed state means the door locks as soon as you set the security system to away or night mode, with no separate action. This trigger suits households that already run a security panel or a sensor-based alarm. Confirm that your alarm platform exposes an armed state your automation tool can read. Some systems publish only “armed” and “disarmed,” while others add separate home and away modes, and each mode needs its own rule if you want different behavior.
Bundling the lock, lights and thermostat
A bedtime scene works best when one trigger drives three device types:
- Lock: sends the lock command to the front and back doors.
- Lights: turns off the lights in the main rooms and keeps a low path light on if you want one.
- Thermostat: switches the heating or cooling to the overnight setpoint.
Set the actions in a fixed order: lock first, then lights, then thermostat. If the lock fails, the lights and heating still change, so you can check the lock state separately.
Frequently asked questions
Can Home Assistant lock my front door automatically at night?
Yes. Home Assistant’s documentation gives a nightly example in which a time trigger at 11:00 PM runs the lock.lock action on a front door entity, according to Home Assistant (2026). If your lock requires a code, you add it under the action’s data field.
Can a Kwikset Premis lock lock itself at a set time through Apple Home?
Yes. Kwikset (2026) states that a Premis lock can be locked at a set time through a HomeKit automation built in the Apple Home app. The lock’s own auto-lock timer, which counts from the last lock operation, is a separate setting adjusted in the Premis app.
How should I test a nightly lock automation safely?
Run the test with the door closed first, then check the lock’s reported state in its app or hub instead of assuming the automation worked. Test the open-door case only after a contact-sensor condition is in place, so the lock step is skipped rather than driven against the frame. Lock behavior varies by model, so confirm the exact response in your manufacturer’s instructions.