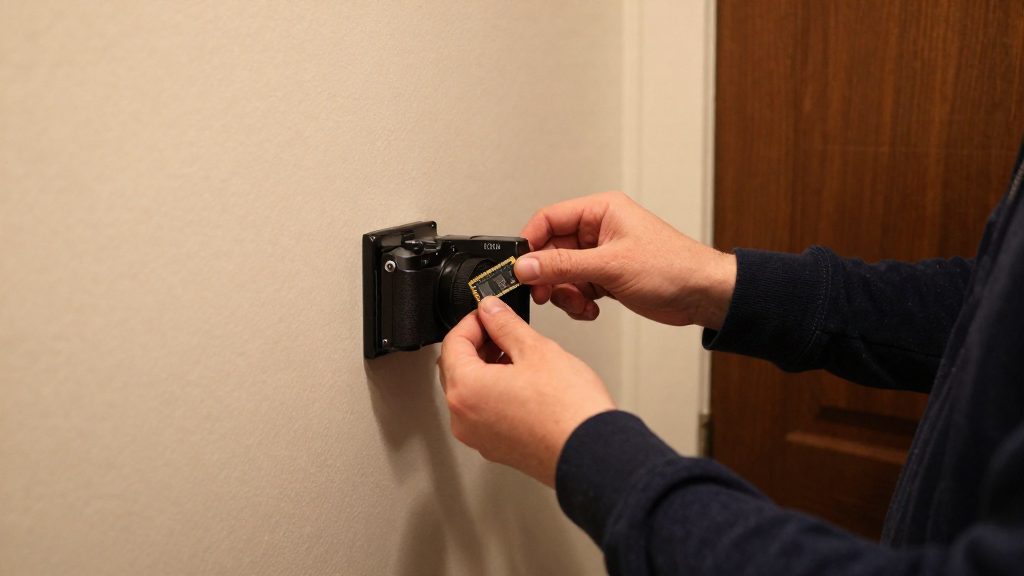
Local recording keeps footage on hardware you control, such as a microSD card in the camera, an NVR, a NAS or an external drive, instead of on the manufacturer’s servers. This removes the recurring subscription that many cloud plans require and keeps the video inside your home network. The trade-off is that you also lose the automatic offsite copy that a cloud service provides if the camera or recorder is stolen or damaged.
Why record locally instead of in the cloud?
Where the footage goes
With cloud recording, each clip is uploaded to the manufacturer’s servers and retrieved through its app. With local recording, the camera or a device on your network writes the video to storage you own. According to Reolink (2026), local, cloud-free options include microSD cards, an NVR, a NAS and external hard drives, and each one keeps the recordings on site.
| Storage method | Where footage is stored | Typical scope (per Reolink, 2026) |
|---|---|---|
| Cloud service | Manufacturer’s servers | Subscription required for cloud storage |
| microSD card | Inside the camera | Cheapest option, suited to one camera, limited capacity |
| NVR | Recorder with a surveillance-rated drive | Several cameras |
| NAS | Network storage, can run NVR software on a Synology | Flexible |
| External hard drive | Attached to a recorder or PC | Local backup of recordings |
Subscription costs versus hardware spend
Cloud plans charge on a recurring basis, while local storage is a one-time purchase of a card, drive or recorder. Depending on the plan and the hardware chosen, the cumulative cost of recurring fees may exceed the one-time hardware cost over several years. Canadian prices were not verified, so compare current fees and hardware prices before deciding. Subscription prices vary by manufacturer and plan, so compare the current fees on each brand’s site before deciding.
What changes when footage stays at home
Footage that never leaves the home is not stored on a third-party server, so access depends on your local network and devices. Home Assistant’s ONVIF integration is classed as “Local Push”, which means it communicates locally (Home Assistant, 2026). Frigate, a self-hosted NVR, runs its object detection on your own hardware (Frigate, 2026).
The trade-off: no offsite copy
If someone steals the camera, the microSD card or the recorder, the footage stored on it goes with it. A cloud service keeps clips off-site, so they survive physical theft. To reduce this risk with local storage, keep the recorder in a location that is hard to reach and consider a second drive kept elsewhere.
Local storage options: microSD, NVR, NAS
Local recording without a cloud subscription comes down to four storage types: microSD cards, NVRs (network video recorders), NAS units and external hard drives.
microSD cards for single-camera setups
A microSD card installed directly in the camera is the simplest way to record locally. It suits one camera, and its capacity caps how much footage it can hold before older clips are overwritten. Check the camera’s manual for the maximum supported card size, since that limit varies by model.
NVRs with surveillance-rated drives
An NVR receives streams from several cameras and writes them to an internal drive. Reolink (2026) names the WD Purple and Seagate SkyHawk as surveillance-rated drives suited to this continuous workload. Use a drive rated for surveillance rather than a general desktop drive, because the NVR writes constantly.
NAS running NVR software
A NAS (network-attached storage) is the most flexible option because it stores recordings and can host NVR software. According to Reolink (2026), a Synology NAS can run self-hosted NVR software. Cameras must expose RTSP or ONVIF streams to connect to this software, which is covered in the protocol compatibility section.
RTSP and ONVIF: what to check before buying
A camera can feed third-party recorders only if it exposes an open streaming interface. The two interfaces that matter are RTSP (Real Time Streaming Protocol), which carries the live video, and ONVIF (Open Network Video Interface Forum), a standard for discovering the camera and exchanging control and event data with other software. According to Reolink (2026), RTSP and ONVIF are what allow cameras to connect to third-party software and NVRs and to mix brands in one system. Confirming both before purchase avoids buying a camera that works only in its own app.
What ONVIF Profile S covers
Profile S is the ONVIF profile for video streaming. Home Assistant (2026) states that its ONVIF integration works with ONVIF Profile S conformant cameras, so this is the profile to look for. Its practical value is that a conformant camera can usually be added to ONVIF-compatible software without a brand-specific driver, although feature support still varies by software and model.
- Look for the explicit phrase “ONVIF Profile S” in the manufacturer’s spec sheet. A general statement such as “ONVIF supported” does not specify the profile.
- Treat profile claims in retail listings and affiliate pages as unverified until the manufacturer’s documentation confirms them.
Checking RTSP support
Not every camera marketed for local storage exposes RTSP. Some limit the video stream to their own app, which rules out third-party recording regardless of ONVIF claims. Check the following before buying:
- Confirm in the manufacturer’s manual that RTSP can be enabled.
- Find the RTSP option in the camera’s web settings, which is where Reolink (2026) describes enabling ONVIF and RTSP.
- Take the stream URL format from the manual for that exact model. URL formats are model-specific, so do not reuse a pattern from another brand.
Verifying brand mixing in NVR software
Compatibility is decided by the recorder as well as the camera. The self-hosted options named by Reolink (2026) are Frigate, Blue Iris, ZoneMinder and Scrypted, and Home Assistant (2026) provides its own ONVIF integration. Before buying, check:
| Check | Where to verify | What it tells you |
|---|---|---|
| ONVIF Profile S stated | Manufacturer spec sheet | Whether the camera uses the profile Home Assistant names |
| RTSP can be enabled | Camera web settings and manual | Whether third-party software can receive a live stream |
| Stream URL format | Model-specific manual | How to add the stream to the recorder |
| NVR support for the brand | Manual or manufacturer documentation | Whether the specific model is supported, since sources conflict for some brands such as Tapo and Amcrest |
Setting up local recording step by step
Local recording with a third-party NVR starts on the camera’s own web interface, not in the NVR software. The sequence is: give the camera a fixed address, enable ONVIF and RTSP, create a dedicated stream account, then register the camera and its credentials in the NVR.
Step 1: Assign a static IP address to each camera
Each camera needs an address that does not change, or the NVR loses its connection after a reboot or a DHCP lease renewal. Assign a fixed IP to every camera, either by setting it manually in the camera’s network settings or by creating a DHCP reservation for the camera’s MAC address in your router. Keep a written list of camera names, MAC addresses and assigned IPs, since you will need the IP in Step 3.
Step 2: Enable ONVIF and RTSP in the camera’s web settings
Log in to each camera’s web interface using its local address and enable both ONVIF and RTSP. ONVIF handles discovery and control, and RTSP delivers the video stream. Some models place these options under a network or advanced section, and some require a firmware update before they appear. If the options are missing, check the manual and the manufacturer’s documentation for your exact model. Some models may not support third-party recording at all.
Step 3: Create a dedicated stream account and add it to the NVR
Create a separate username and password for stream access rather than reusing your administrator login. This limits what a compromised NVR or integration can change on the camera. Then enter the camera’s IP address and this dedicated credential pair in the NVR software, one camera at a time.
| Step | Where | What to verify |
|---|---|---|
| 1. Static IP | Camera network settings or router DHCP reservation | Address persists after a camera reboot |
| 2. ONVIF and RTSP | Camera web interface | Both protocols show as enabled |
| 3. Dedicated account | Camera user settings | Stream login differs from the admin login |
| 4. NVR registration | NVR software camera list | Live view shows the feed |
Home Assistant-specific requirements
If you connect cameras to Home Assistant through its ONVIF integration, two conditions apply. The cameras must be ONVIF Profile S conformant, and the ffmpeg integration must be configured. The camera also needs at least one H.264 stream. Cameras that offer only H.265 can produce the “No usable cameras were found” error.
Home Assistant and Frigate for local automation
Home Assistant connects a camera to local automations through its ONVIF integration. Home Assistant classes this integration as Local Push, so events travel over the local network without a cloud service. The integration works with ONVIF Profile S conformant cameras and provides camera entities, motion, tamper and sound event sensors, and PTZ control (Home Assistant, 2026).
Prerequisites for the ONVIF integration
| Requirement | Detail | Source |
|---|---|---|
| ONVIF Profile S | The camera must be ONVIF Profile S conformant | Home Assistant (2026) |
| ffmpeg integration | Must be configured in Home Assistant | Home Assistant (2026) |
| H.264 stream | At least one H.264 stream is required; a camera offering only H.265 can trigger the “No usable cameras were found” error | Home Assistant (2026) |
Event sensors for automations
Motion, tamper and sound sensors appear as entities that automations can trigger on, so a tamper event can drive a notification or a light change without polling the camera. Which sensors appear depends on what the camera reports over ONVIF, so check the model’s manufacturer specification before building an automation around a specific sensor.
AI detection with Frigate and a Coral TPU
Frigate is a self-hosted NVR designed for Home Assistant. It runs AI object detection on your own hardware, re-streams feeds via RTSP, and connects to Home Assistant through a custom component and MQTT (Frigate, 2026). Frigate strongly recommends a dedicated detector, and CPU-only detection is intended for testing only (Frigate, 2026).
A Google Coral USB TPU can take AI detection off the CPU in Frigate (Reolink, 2026). Confirm that the Coral device is recognised in Frigate’s configuration before relying on it for automations.
How do you view your cameras remotely without the cloud?
Remote viewing without a cloud subscription usually means reaching your local recorder or camera from outside your home over an encrypted connection. The safer method is a VPN tunnel (for example WireGuard or Tailscale) that links your phone to your home network.
Why port forwarding exposes cameras to the internet
Port forwarding maps an external port on your router to a camera or NVR on your local network. Anyone who scans the internet can then reach that port, so the camera’s login page or RTSP stream becomes a public target. Reolink (2026) recommends avoiding opened router ports for remote viewing altogether.
WireGuard and Tailscale for remote viewing
Both tools create an encrypted tunnel between your phone and your home network. Tailscale normally needs no inbound port on the router. A self-hosted WireGuard server usually needs a single UDP port reachable from the internet, so restrict it to that one port and never expose the camera or NVR ports themselves:
| Option | Setup model | Where it fits |
|---|---|---|
| WireGuard | Self-managed: you configure a server (on a NAS, router or Raspberry Pi), keys and peer configuration files | Users who want full control and no third-party coordination service |
| Tailscale | Managed: devices join a private network after sign-in, with keys handled automatically | Users who want a quicker setup across phone and home devices |
Reolink (2026) names both as VPN options for remote viewing. Once the tunnel is active, open the NVR or camera by its local IP address (for example, 192.168.x.x) as if you were at home.
Viewing camera feeds on mobile devices through the tunnel
- Install the WireGuard or Tailscale app on your phone and activate the tunnel.
- Confirm the connection, then open your self-hosted NVR software (such as Frigate, Blue Iris, ZoneMinder or Scrypted) or the camera’s web interface using its local IP address.
Home Assistant users can reach their dashboard the same way, through the tunnel, without publishing it.
Privacy and security precautions
A self-hosted camera is reachable by any device on the same network unless you restrict access. According to Reolink (2026), a safer self-hosted setup isolates cameras on a VLAN and disables UPnP and P2P on the camera firmware. These measures limit what a compromised camera can reach, and they reduce the ways outside parties can connect to it.
Isolating cameras on a VLAN
Place all cameras on their own VLAN isolation segment, separate from phones, computers and hubs. Allow the NVR or Home Assistant host to reach the camera segment, and block connections that start from the cameras toward trusted devices. Then test the rules: from a device on the camera VLAN, trusted addresses should not respond.
| Measure | What it limits | Where to check |
|---|---|---|
| VLAN isolation | Movement from a compromised camera to trusted devices | VLAN and firewall rules on your router or managed switch |
| Disabling UPnP | Automatic port openings requested by the camera | Camera network settings, then the router’s UPnP mapping list |
| Disabling P2P | Relay connections through the manufacturer’s servers | Camera network or cloud settings |
Disabling UPnP and P2P on camera firmware
Log in to the camera’s web interface, open the network settings and turn off UPnP and P2P. Then open the router’s UPnP mapping table and confirm it has no entries for the camera’s IP address. Check these settings again after any firmware update, because the camera’s configuration may change during the update.
Firmware updates and unused services
Install firmware only from the manufacturer’s app or web interface, and keep the camera on the current version. Turn off services that no device uses. For example, if no NVR or third-party software connects, disable the ONVIF and RTSP services. Remove any user accounts you no longer need.