A smart switch needs a neutral wire because its internal electronics, including the radio, indicator LED and processor, must stay powered at all times to remain connected to the hub. The neutral provides the return path that lets the switch draw power without passing current through the light. In a single-pole loop, where the neutral is absent at the switch box, that constant supply is missing.
Why does a smart switch need a neutral wire?
Continuous power for the radio, LED and processor
A mechanical wall switch needs no power of its own. A smart switch does: its radio, indicator LED and processor draw electricity whether the light is on or off. With a neutral present, current flows from the line through the switch electronics and back through the neutral, so the device stays energised while the switch controls the load separately.
Why a single-pole loop lacks a neutral at the switch
In a single-pole loop, power enters the light fixture directly, so the switch box carries no neutral. The switch then only interrupts the connection to the light, with no separate supply path for its own electronics. According to Alarm Grid (2026), this wiring is the reason some smart switches cannot work in a single-pole loop and why neutral-free alternatives exist.
| Factor | Switch box with neutral | Single-pole loop without neutral |
|---|---|---|
| Power path to the switch | Line and neutral both reach the box | Power enters the light fixture; no neutral at the switch |
| Electronics powered with light off | Yes | No, the switch loses the power it needs |
| Hub connection with light off | Maintained | Lost when the light is off |
Hub connection lost when the light is off
Turning the light off cuts the power the switch needs to stay connected to the hub, according to Alarm Grid (2026). While the light is off, the switch drops off the network, so commands from an app or voice assistant may not reach it until the light is switched back on.
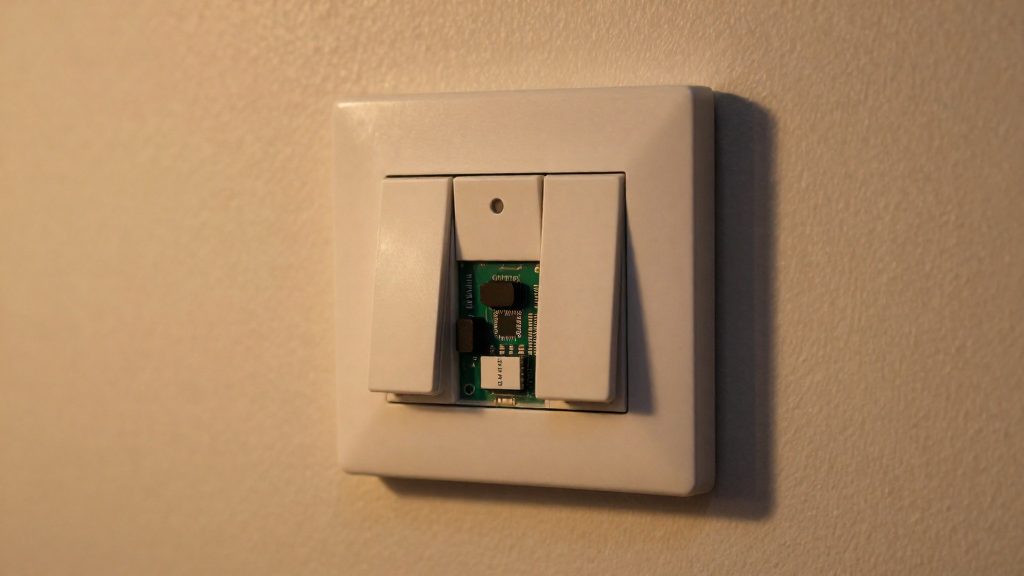
How to check for a neutral at your switch box
Most smart switches need a neutral wire, so the first check is whether the switch box contains one. According to PCWorld (2026), you can look for twisted white wires capped with a wire nut. If none are present, the switch is likely wired in a way that gives it no neutral, and you should choose a model marked “no neutral required.”
Step 1: Shut off the circuit
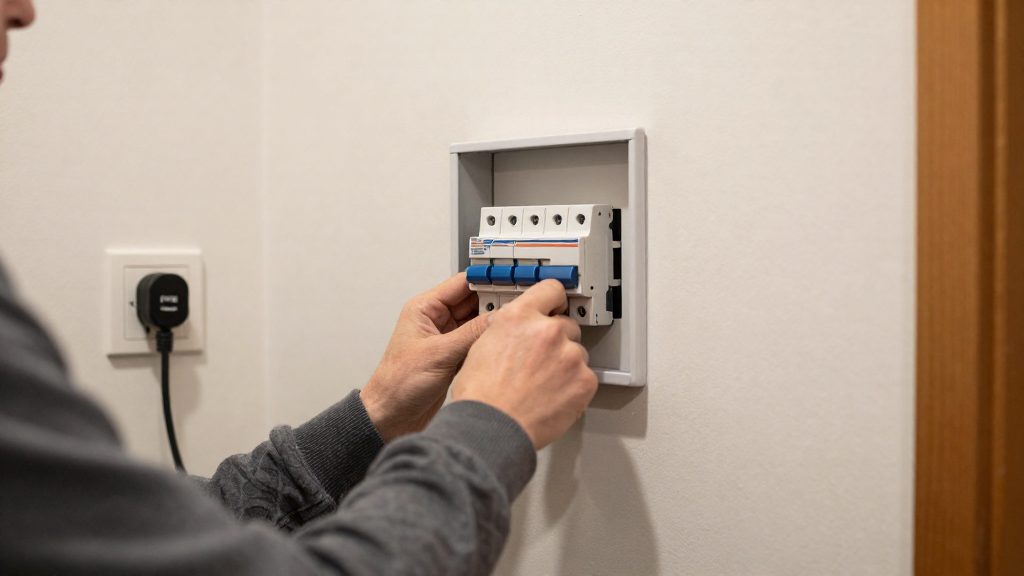
Before you open the box, switch off the circuit at the breaker, as PCWorld (2026) recommends. Turning off the light at the wall switch does not cut power to the box, because the switch itself is still live.
Step 2: Inspect the wires
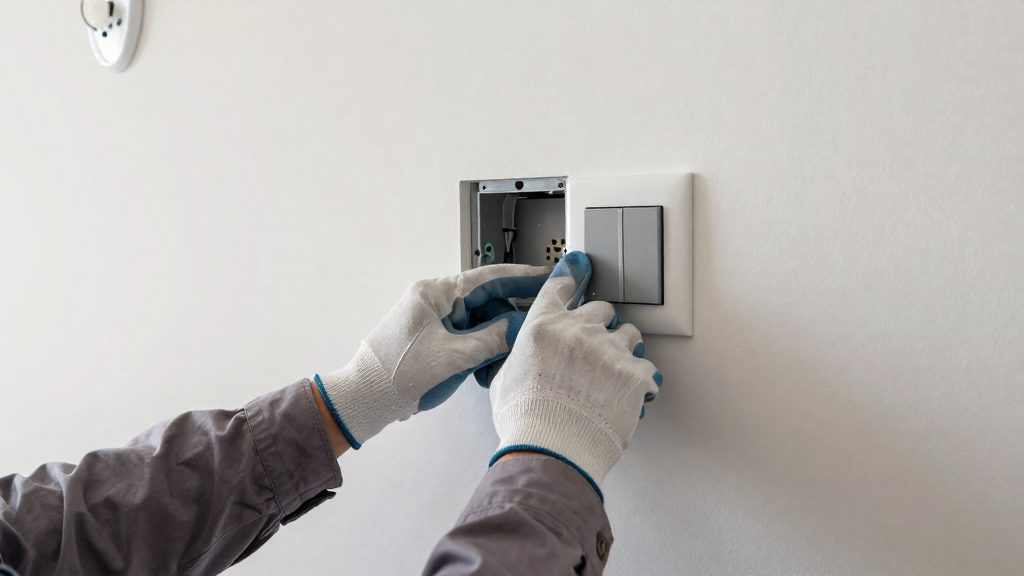
With the cover plate removed and the switch pulled slightly forward, look for these conditions:
| What you see in the box | What it suggests |
|---|---|
| Twisted white wires joined by a wire nut | A neutral conductor is present at the box |
| No white wire at the switch | No neutral at the switch, which matches the single-pole switch loop case |
| Only one cable entering with a white wire that runs straight to the fixture | The neutral is routed to the light, not to the switch |
Homes built before the 1980s are the most likely to lack a neutral at the switch box, according to Alarm Grid (2026). Age of the house is a clue, not proof, so check the wires directly.
Wire colour alone does not confirm function. Use the tester in the next step before you assume any wire’s role.
Step 3: Confirm the wires are dead
Use a non-contact voltage tester on every conductor in the box. PCWorld (2026) notes these testers cost under US$20; Canadian retail prices may differ. Hold the tester near each insulated wire and confirm it does not signal before you touch any conductor.
Smart switches that work without a neutral
Four models are named as neutral-free options: the Lutron Caseta, the GE 14299, the GE 45717 and the Leviton Decora Smart No-Neutral 15A. According to Alarm Grid (2026), the Lutron Caseta and the GE 14299 and 45717 are examples of neutral-free switches. The four models differ mainly in protocol and hub or bridge requirement, so check what each one needs before buying.
GE 14299 and GE 45717
Both GE models are Z-Wave dimmers. Z-Wave devices communicate through a Z-Wave controller, so a compatible hub must be in the home before the switch will be controlled from an app or automation.
Lutron Caseta
The reference data names the Lutron Caseta as a neutral-free option but does not state its protocol or whether a bridge is required. Lutron’s installation documentation gives both details. Confirm them there before purchase, because the bridge requirement affects the total cost of the setup.
Leviton Decora Smart No-Neutral 15A
The Leviton option depends on the Leviton Wi-Fi Bridge (Home Controls, 2026). The 15A figure appears in the model name. Confirm the load rating and minimum load on the switch label and in the Leviton manual, since those values were not confirmed for this model.
| Model | Listed as neutral-free | Protocol | Hub or bridge |
|---|---|---|---|
| Lutron Caseta | Yes (Alarm Grid, 2026) | Check Lutron manual | Check Lutron manual |
| GE 14299 | Yes (Alarm Grid, 2026) | Z-Wave | Z-Wave controller |
| GE 45717 | Yes (Alarm Grid, 2026) | Z-Wave | Z-Wave controller |
| Leviton Decora Smart No-Neutral 15A | Yes, by product name | Wi-Fi bridge-based | Leviton Wi-Fi Bridge, sold separately (Home Controls, 2026) |
How no-neutral switches get their power
A no-neutral smart switch cannot take its operating power from a neutral conductor that is absent in the box. Instead, the sources describe alternate methods: some designs draw a small trickle of power through the load itself, while others run wirelessly with no line power draw. Which method applies depends on the model, so the product documentation determines how the switch behaves.
Trickle current through the load
Some no-neutral designs draw a small trickle of power through the load itself. Current flows through the connected light even when it is switched off, which keeps the switch’s electronics energised and connected to the hub.
This method has a practical consequence: the switch relies on the connected load to complete its circuit. Designs without this trickle path depend on the light circuit alone, which is why the wiring type matters before purchase.
Wireless operation with no line draw
Other no-neutral switches run wirelessly and draw no line power at all. They take no current through the light, so the load and switch stay electrically independent. Because the switch does not draw from the circuit, it avoids the trickle path entirely.
Leviton Wi-Fi Bridge: a separate purchase
For the Leviton no-neutral option, the Wi-Fi Bridge is a separate purchase, according to Home Controls (2026). Check the product listing before buying, since the switch alone may not provide full connectivity in that configuration.
Can I install a no-neutral switch myself in Canada?
Whether a homeowner can do this work in Canada depends on the province and sometimes the municipality, and some jurisdictions require a licensed electrician for changes to household wiring. Permit and inspection requirements are the deciding factor for DIY eligibility, and they are not something a product listing can tell you.
Retail prices are a separate question and are not verified for this section. The figures below are the only Canadian listings identified so far, and each needs a check on the retailer’s own page.
| Product | Listed price (CAD) | Status |
|---|---|---|
| Leviton Decora Smart No-Neutral 15A | About $59.99 | Unverified. Confirm on the Leviton Canada or retailer page. |
| Globe Electric No-Neutral Wi-Fi switch | About $44.99 | Unverified. Stock in Canada is not confirmed. |
Before any wiring work, check two things:
- Local rules: Ask your provincial electrical safety authority or municipality whether a permit and inspection apply to replacing a switch in your home.
- Licensed-trade requirement: Some provinces or local jurisdictions require a licensed electrician for this type of work, even when the homeowner is otherwise permitted to do electrical tasks.
If a permit is required, ask your provincial electrical safety authority whether a homeowner may obtain it or whether a licensed electrician must do the work, because the answer varies by province. When in doubt, hire a licensed electrician.

Common problems with LEDs and minimum load
No-neutral switches draw their operating power through the connected light, so the bulb’s electrical behavior directly affects whether the switch works. Symptoms such as ghosting, flicker or the switch dropping off the hub are commonly attributed to the small current that passes through an LED bulb when it is off or dimmed. The exact thresholds are not confirmed here, so check the switch manufacturer’s manual for its minimum load and compatible bulbs. Check the switch manufacturer’s manual for its minimum load rating before buying bulbs, because the manufacturers’ published figures are the only reliable reference for that threshold.
Why low load causes problems
A trickle current is the small amount of power a no-neutral switch sends through the load to stay powered while the light is off. LED bulbs contain electronic drivers that can respond to this current in ways incandescent bulbs do not:
- Ghosting: the bulb glows faintly or flickers while switched off, because the trickle current is enough to light or partially energize the driver.
- Flicker: the bulb pulses on and off, typically when the load is too light for the driver to regulate steadily.
- Failure to switch: the switch loses power or resets, so it no longer responds to the app or the physical toggle.
How a given bulb type reacts to the trickle current depends on the switch and the bulb, so check the manufacturer’s compatibility list, especially after an LED upgrade.
Common symptoms and first checks
| Symptom | Likely cause | First check |
|---|---|---|
| Faint glow when light is off | Trickle current through LED driver | Confirm the switch’s trickle specification in its manual |
| Flicker at low brightness or when off | Load below the switch’s minimum | Compare bulb wattage with the switch’s minimum load |
| Switch drops off the hub | Insufficient power while light is off | Check whether the bulb is dimmable and rated for the switch |
Remedies
- Bulb swap: replace the LED with a model listed as compatible by the switch manufacturer, or add a dummy load only if the manufacturer’s manual allows it.
- Manufacturer-approved accessory: some manufacturers may document accessories that add load or carry the trickle current. Check the switch manual for any approved accessory. The Leviton Wi-Fi Bridge is the connectivity bridge sold separately, not a documented fix for bulb problems.
- Contact support: if your bulb is not on the manufacturer’s list, ask the manufacturer directly before installing any non-approved bypass.
Step-by-step install safety checklist
Once the circuit is confirmed dead, follow the wiring diagram supplied with your model, which shows which conductor goes to the line, load and ground terminals. The general order is: label, disconnect, strip, connect, secure, restore power, test. Each step prepares the next, and skipping one makes the others harder to verify.
Labeling conductors before disconnecting the old switch
Before removing any conductor, mark each wire with the terminal it occupies on the old switch. Use tape flags or a marker, and photograph the box with the cover off. Smart switches often use a different terminal layout than the switch they replace, so the photo is the reference you will need when connecting the new device. Keep the ground conductor identified separately from the line and load conductors.
Wire stripping
Strip only the insulation length that the new switch’s terminal requires. The manufacturer’s manual gives the exact exposed length for each model. Too much bare conductor can touch the box or an adjacent terminal, while too little prevents a secure grip.
- Inspect each stripped end for nicked or missing strands. Cut back and re-strip any damaged end.
- Discard conductors that are brittle, cracked, or discolored, and use a fresh length.
- Form a clean loop on each stripped end, sized to wrap around the terminal screw in the direction the screw tightens.
Terminal torque and securing the device
Tighten each terminal screw firmly enough that the conductor cannot be pulled free by hand. Over-tightening can crack the switch housing or strip the screw thread. If the manufacturer’s manual lists a torque value, use it; if it does not, rely on a firm, snug fit and a gentle tug test on each conductor.
Once terminals are secure, fold the conductors into the box so none are pinched between the device and the box wall. Fasten the device with the supplied screws, then attach the faceplate. Confirm that no bare copper shows outside the terminal before closing the box.
Restoring power and functional testing sequence
Power is restored only after the device is mounted and the faceplate is attached. Then test in this order:
| Order | Action | Confirm before moving on |
|---|---|---|
| 1 | Restore power at the breaker | Device indicator lights, or the load responds as the manual describes |
| 2 | Test the physical toggle | Load turns on and off with the wall switch |
| 3 | Pair the switch with its hub or app | Device appears in the app and reports its state |
| 4 | Test remote control | Load switches from the app and matches the wall position |
| 5 | Test any automation or routine | Trigger fires as expected and the load responds |
When a switch loop needs an electrician
Some wiring conditions are outside what a smart switch swap should cover. Stop and call a licensed electrician when the box shows aluminum conductors, damaged insulation, or unidentifiable wires, or when the job involves panel work or a new circuit. In these cases, the risk comes from the existing wiring, not from the switch itself.
| Condition found at the box or panel | Why it matters | Action |
|---|---|---|
| Aluminum conductors (typically silver-gray rather than copper-colored) | Aluminum behaves differently at terminal connections, so it needs compatible connectors and workmanship. | Stop and have an electrician evaluate the connections. |
| Cracked, melted, or discolored insulation, or scorch marks | Damage can indicate heat stress at the box or the connections. | Stop, leave the circuit off, and have it inspected. |
| No ground conductor, or no reliable way to identify the conductors | The switch manual’s ground requirement cannot be verified, and wire roles stay uncertain. | Stop and get the circuit identified before proceeding. |
| Voltage still present with the breaker off (confirmed with a non-contact voltage tester) | The breaker may be mislabeled or the circuit may be energized through another source. | Stop and have an electrician trace the circuit. |
| Panel work or a new circuit needed | Breaker changes, panel upgrades, or added circuits fall outside a switch replacement. | Hire a licensed electrician. |
Treat any uncertainty about the conductors as a reason to stop.