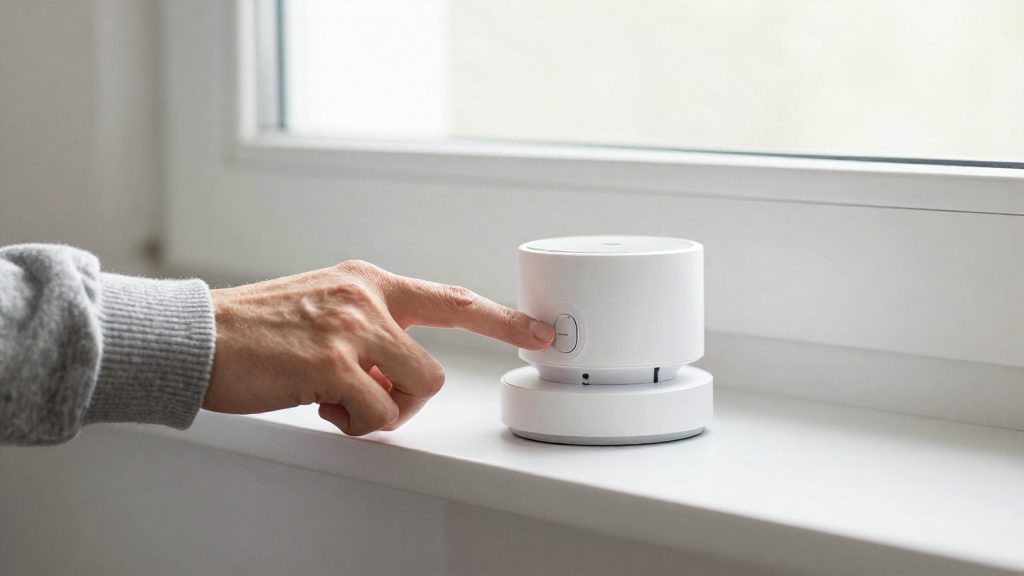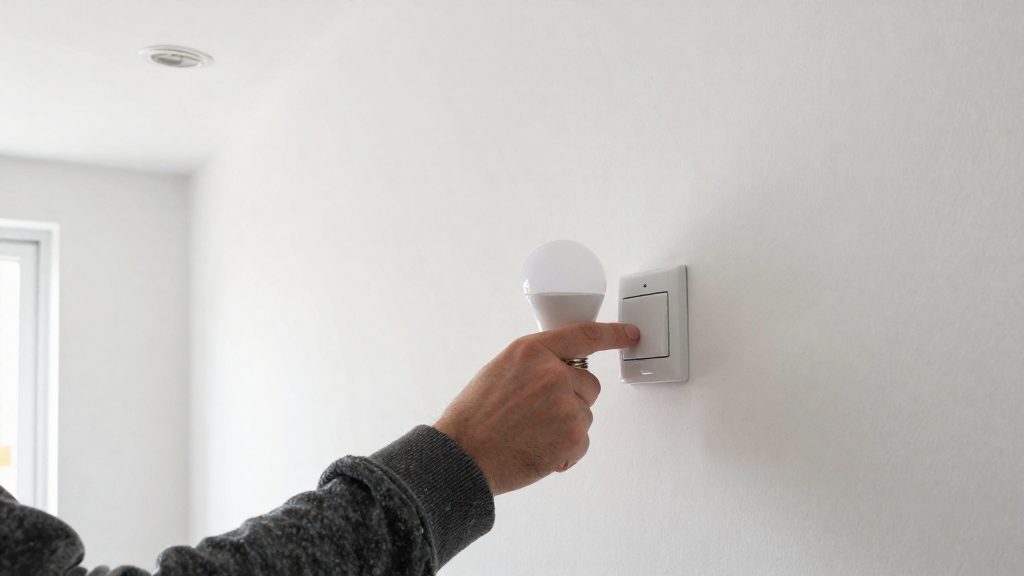
Zigbee devices store their network membership in their own memory, so a device paired to an earlier network usually needs a factory reset before it can join a new one. A reset is usually needed when the device still holds membership it cannot release through the old hub.
Why reset a Zigbee device before re-pairing?
How stored membership blocks a new join
A Zigbee device keeps the network identity it received during its last pairing. When you attempt to join a different hub, that stored membership is what the device still carries. Candeo’s 2026 pairing guide states that a factory reset removes the old network membership so the device can join a new one.
Why old membership survives a power loss
Cutting power does not always clear stored membership. Niko, a European manufacturer, documents two different actions for its battery-powered Zigbee switches (availability in Canada is not confirmed):
| Action | Stored data | Connection to paired devices | Re-pairing needed |
|---|---|---|---|
| Factory reset | Erased (all data) | Disconnected | Yes |
| Power reboot (remove CR2450 battery, wait 45 s, reinsert) | Kept | Disconnected | Not stated by Niko |
Per Niko, a power reboot on its battery-powered switches keeps the stored data but disconnects the switch from its paired devices. Whether a device then keeps or releases its old network membership is not stated by Niko. Niko’s documentation covers its own switches only, so the behavior of other brands may differ.
When a reset is actually required
- When moving a device to a new network: a full factory reset is the step that fully detaches the device from its old setup.
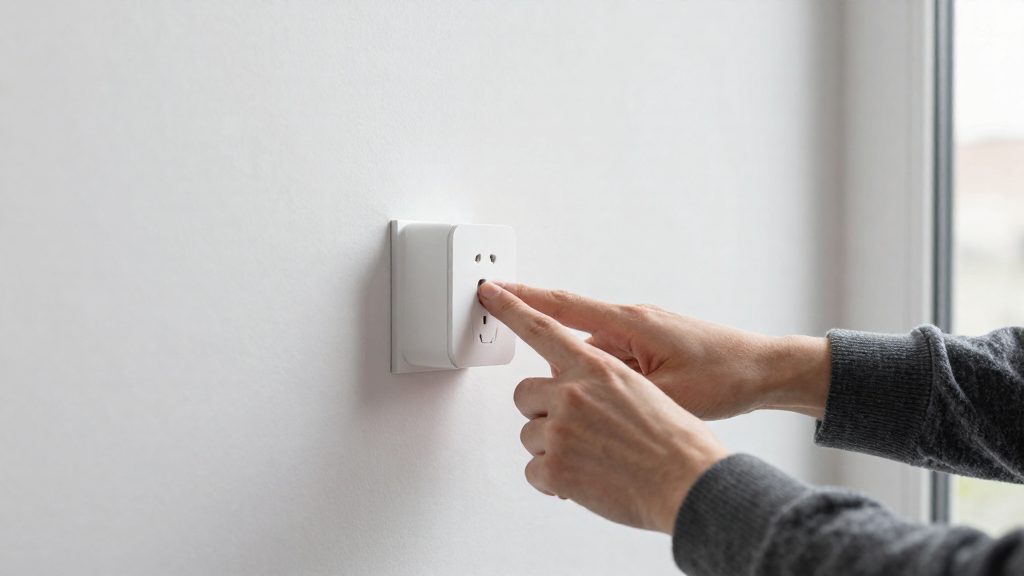
Remove the device from the old hub first
Remove the device from the hub it was last paired to before you attempt a new pairing. The old hub’s own record of the device is a separate item, and it needs its own cleanup.
Delete the device in the old hub’s app
- Open the app for the hub the device was paired to.
- Find the device in the device list and open its settings.
- Select the remove, delete, or forget option. The label varies by platform.
- Confirm the removal and wait for the app to report that it is complete.
In Home Assistant and Zigbee2MQTT, forum discussions suggest removing the device from the device list or device registry before resetting it. This suggestion has not been verified against a primary source, so follow the platform’s own documentation.
Check for leftover entries
Deletion does not always remove every reference to a device. Check these places:
| Check | Where to look | What to confirm |
|---|---|---|
| Device list | Old hub app or hub web interface | The device no longer appears, and no entry with the same name remains |
| Automations and routines | Automation editor | No automation still references the removed device |
| Groups and scenes | Group or scene settings | The device is no longer a member |
| Unavailable entries | Device list filters or status views | No unavailable or orphaned entry for the old device remains |
Automations that still reference a removed device may fail or report errors. Edit them to point to a different device, or disable them.
Handle devices the old hub can no longer reach
If the old hub is offline, unplugged, or out of range, its app may not allow removal. In that case:
- Restore the hub’s connection, then remove the device through the app.
- If the hub is no longer in use, check the manufacturer’s instructions for removing the hub or its devices. The steps vary by product.
- If you cannot reach the hub at all, contact the manufacturer’s support service.
Common factory reset methods by brand
Factory reset sequences are set by each manufacturer, so the hold time, button and LED pattern differ by model. The two examples below come from manufacturer documentation. For any other device, follow its own manual.
Leviton Decora Smart (Zigbee)
Leviton documents one sequence for its Decora Smart Zigbee devices, with the joining mode entered at the end of the hold (Leviton, 2026):
| Hold time | Indicator | What to do |
|---|---|---|
| 0 to about 7 s | No change | Keep holding the control |
| About 7 s | Light turns amber | Keep holding |
| 14 s | Light flashes red/amber quickly | Release to reset the device and enter joining mode |
On a wall switch, hold the top of the paddle. On a plug-in device, hold the back-lit button.
Niko PROG button (battery-powered Zigbee switches)
Niko documents a factory reset for its battery-powered Zigbee switches, which uses the PROG button (Niko, 2026):
- Hold PROG for 2 seconds, then release.
- Hold PROG again for 10 seconds, until the LED blinks 10 times.
Other brands
Sequences for other brands are not covered by the manufacturer documentation reviewed here. For a device not listed above, check the following in its manual or support pages:
- The button location (paddle, back-lit button, PROG-style button, or a pinhole reset)
- The hold duration and any intermediate LED changes
- Whether the manual states that the device must be re-paired after reset
Community posts describe other shortcuts, such as switching a bulb on and off a set number of times. These were not confirmed against manufacturer documentation, so treat them as unverified and use them only if the manual is unavailable.
Switch reset or full factory reset: which one?
Niko’s battery-powered Zigbee switches can be reset in two ways: a power reboot, which disconnects the switch from its paired devices but keeps its stored data, and a full factory reset, which erases all data and disconnects it from its paired devices. Choosing the right one depends on whether you want the device to rejoin the same setup or start over with a new network membership.
Power reboot: keeps device data
A power reboot cycles the device’s power supply without erasing its configuration. On Niko battery-powered Zigbee switches, this means removing the CR2450 battery, waiting 45 seconds, and reinserting it. According to Niko (2026), this disconnects the switch from its paired devices but keeps its data. Niko does not state whether re-pairing is then needed.
Niko documents only the effect of a power reboot (data kept, switch disconnected from its paired devices). It does not describe when to use it, so check the manual for your device.
Full factory reset: erases data and links
A full factory reset clears all stored data, including paired links. According to Niko (2026), this erases all data, disconnects the switch from its paired devices, and requires re-pairing.
Use a full factory reset when the device still carries old network membership that prevents it from joining a new hub.
Decision rule
| Situation | Reset type | Effect on stored data |
|---|---|---|
| Device must join a new or different hub | Full factory reset | Data erased |
| Device has old network membership blocking pairing | Full factory reset | Data erased |
Put your hub in pairing mode and keep close range
A Zigbee device can only join when the hub is accepting new devices. Open the hub’s join mode first, then bring the device into its join state while the two are close together. Candeo (2026) lists pairing at close range as a separate troubleshooting step.
Enable permit join on the hub
Each Zigbee hub or bridge uses its own name for this mode, often pairing mode, permit join or “add device.” Common examples:
- Home Assistant (ZHA): start the add-device action in the Zigbee integration.
- Zigbee2MQTT: enable permit join from the frontend or through MQTT.
- Hubitat and other hubs: start device discovery or the pairing option in the hub’s interface.
Check your hub’s manual for how long the mode stays open.
Place the device near the coordinator
Keep the device close to the hub while it joins. The exact distance is not confirmed by a primary source, so one Hubitat forum figure of about 3 feet should not be treated as a rule. Check your hub’s documentation for its recommended range. After the join completes, you can move the device to its final location.
Confirm the join in the hub interface
A successful join adds a new entry to the hub’s device list. Wait until the device shows as online and its entities or attributes appear before you move on to naming it or building automations. If no entry appears, the join has not completed.
What if the device still won’t pair?
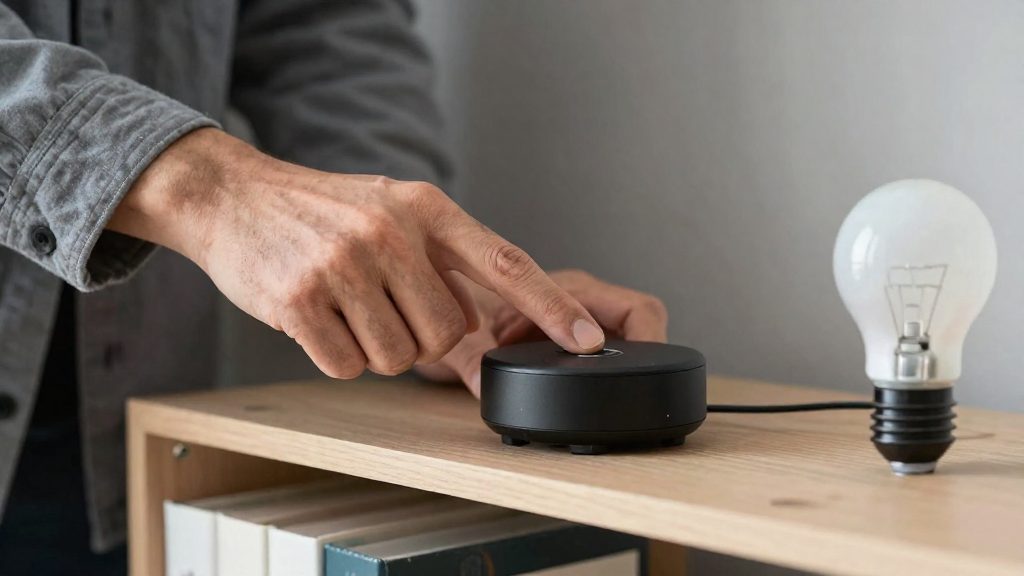
When a device fails to join after a reset and pairing mode, work through the steps below in order. The Candeo Zigbee pairing guide (2026) lists four steps: restart the hub or bridge, factory reset the device, pair at close range, and check the hub’s device limit. Work through them in turn.
Restart the hub or bridge
A restart clears a stalled join attempt before you try again. Power the hub off, wait until it has fully restarted, and only then re-enter pairing mode. Retrying while the hub is still booting may repeat the failure. The exact restart procedure depends on the manufacturer, so follow the hub’s own instructions.
Retry at close range
Candeo lists pairing at close range as a separate step. Keep the device near the hub for each retry, and move it to its final location only after it appears in the hub’s app or interface. Distance and obstacles can weaken the link during joining, so a failure at the installation spot does not necessarily mean the device is faulty.
Reduce interference between attempts
Interference may affect joining, but the Candeo guide reviewed here does not cover it, so treat the following as general suggestions. Before each attempt:
- Move or switch off nearby wireless devices that are not needed for the test.
- Keep the hub away from large metal objects and enclosures.
- Avoid pairing while other devices on the same hub are actively joining or updating.
Change one variable at a time. If a retry still fails after a restart and a clear environment, check the hub’s device limit and the device’s manual.
| Step | Action | What it isolates |
|---|---|---|
| 1 | Restart the hub and wait for full boot | Stalled hub join state |
| 2 | Retry with the device near the hub | Signal distance |
| 3 | Clear nearby wireless clutter and retry | External interference |
Check your hub’s device limit
Zigbee hubs and bridges can only store a fixed number of paired devices. A full hub may be unable to accept a new device, which is why Candeo lists the device limit as a separate step. A Zigbee pairing troubleshooting guide from Candeo lists checking the device limit as one of four steps, and recommends removing an existing device when the hub is full.
Locating the maximum device count
The limit is set by the hub’s manufacturer and varies by model, so no single figure applies across hubs. Find it in:
- The product specification for your exact hub model
- The manual or support page for that model
- The device list in the hub’s companion app, which shows the devices currently paired
Use the model number on the hub itself. A limit listed for a similar or newer model may not apply to yours.
Freeing capacity on the current hub
To make room, remove a device you no longer use from the current hub’s device list, then retry pairing. Only remove devices that belong to the current hub. The device you are trying to add is not yet on it.
Signs a full hub rejects new devices
- The device count in the app matches the maximum in the hub’s specification.
- The new device never appears in the hub’s device list after a pairing attempt.
- The same device pairs successfully once another device is removed from the hub.
If the last point holds, the hub’s capacity was the cause. If the device still fails with free capacity, the problem lies elsewhere.