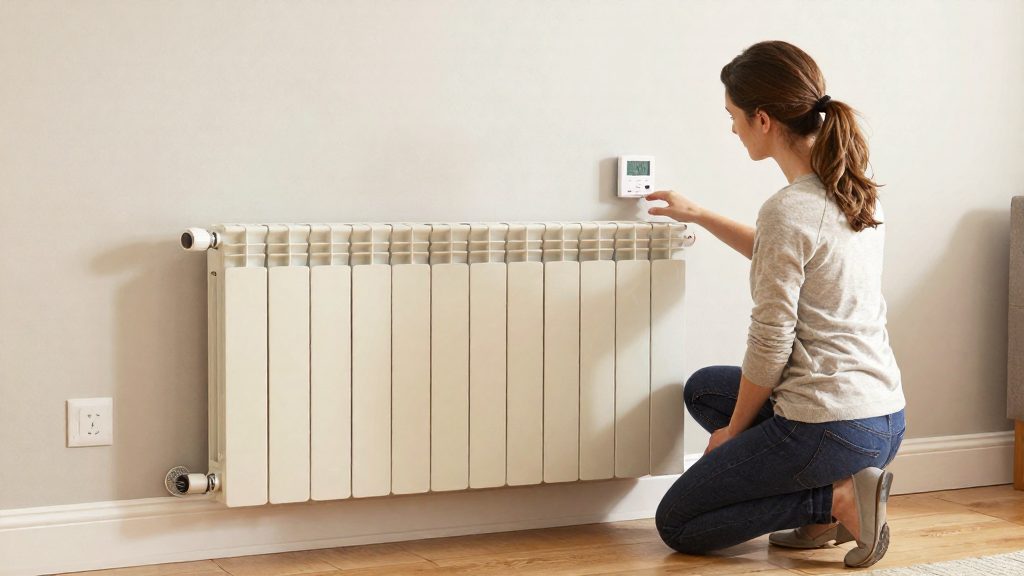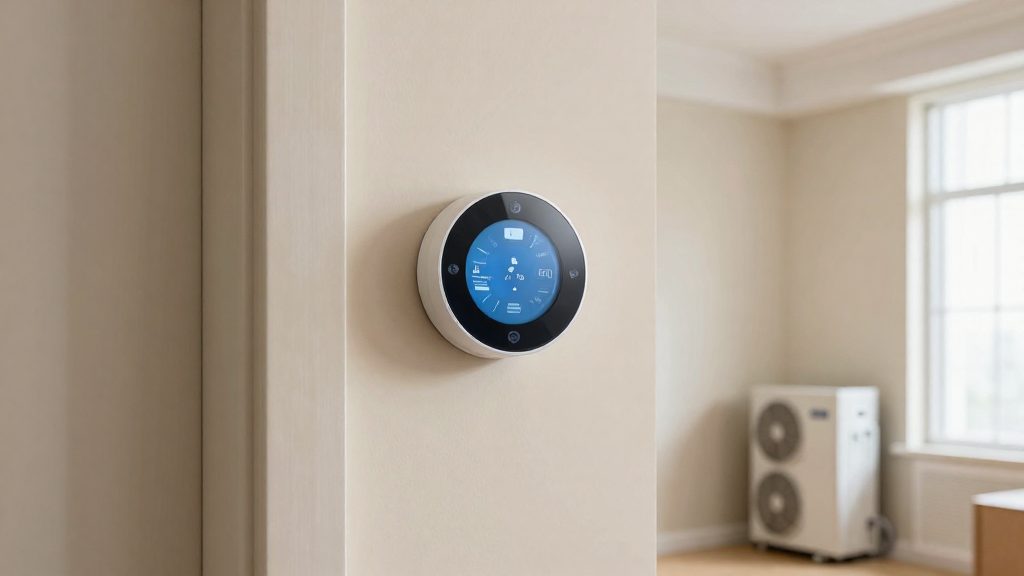
Most modern smart thermostats work with single-stage and multi-stage heat pumps, but the model itself must be designed for heat pumps, including dual-fuel and auxiliary heat setups. A standard furnace thermostat often lacks the logic and terminals a heat pump needs, so compatibility depends on the model, not only on the brand. According to Daikin (2026), a heat pump-ready thermostat should also support an O/B reversing-valve terminal.
Do smart thermostats work with heat pumps?
Single-stage, multi-stage and dual-fuel compatibility
Heat pump systems fall into three categories, and each needs different thermostat support:
- Single-stage: The compressor runs at one fixed speed. The thermostat only needs one heating stage and one cooling stage.
- Multi-stage: The compressor or heat output has two or more levels. The thermostat must send stage-specific signals, so it needs multiple heating and cooling outputs.
- Dual-fuel: A heat pump is paired with a gas or oil furnace. The thermostat switches between the two heat sources, so it must support both and manage the changeover.
Model support varies. The table below compares three models covered by Gearbrain (2026-05-07):
| Model | Price | Heat pump support | Matter | Notes |
|---|---|---|---|---|
| Mysa Smart Thermostat | $159 | Up to 2 heating and 2 cooling stages, plus auxiliary heat | Yes | ENERGY STAR, no subscription |
| ecobee Smart Thermostat Premium | $259.99 | Dual-stage heat pump and dual-stage auxiliary heat | No | Includes a Power Extender Kit |
| Amazon Smart Thermostat | $79.99 | Basic heat pump setups only | Not listed | Alexa-only, no dual-fuel support, no room sensors |
The Amazon Smart Thermostat is Alexa-only, has no dual-fuel support and no room sensors, so it suits simple heat pump setups poorly.
Why heat-pump models differ from furnace thermostats
A furnace thermostat switches a burner on or off, while a heat pump moves heat with a reversing valve that changes the refrigerant flow between heating and cooling. A thermostat built only for furnaces may not provide that output. Heat pump-specific models also manage auxiliary (backup) heat, which engages when the heat pump alone cannot meet the setpoint.
Learning algorithms can conflict with heat pump operation. Gearbrain (2026-05-07) reports that the Google Nest Learning Thermostat (4th gen), which supports Matter and Thread, can trigger unwanted heat pump setbacks because its learning logic adjusts schedules automatically. Disabling or reviewing auto-schedule features is a practical check after installation.
Identifying your system type
Confirm your system type before buying a model:
- Check the outdoor unit nameplate. The model label usually states the system type and compressor capacity.
- Check the indoor air handler or furnace label. A gas or oil furnace alongside the heat pump indicates a dual-fuel system.
- Check your current thermostat. Its menu or manual lists the number of heating and cooling stages it controls.
- Compare against the product specifications. Match the stage count and fuel type to the model’s supported configurations.
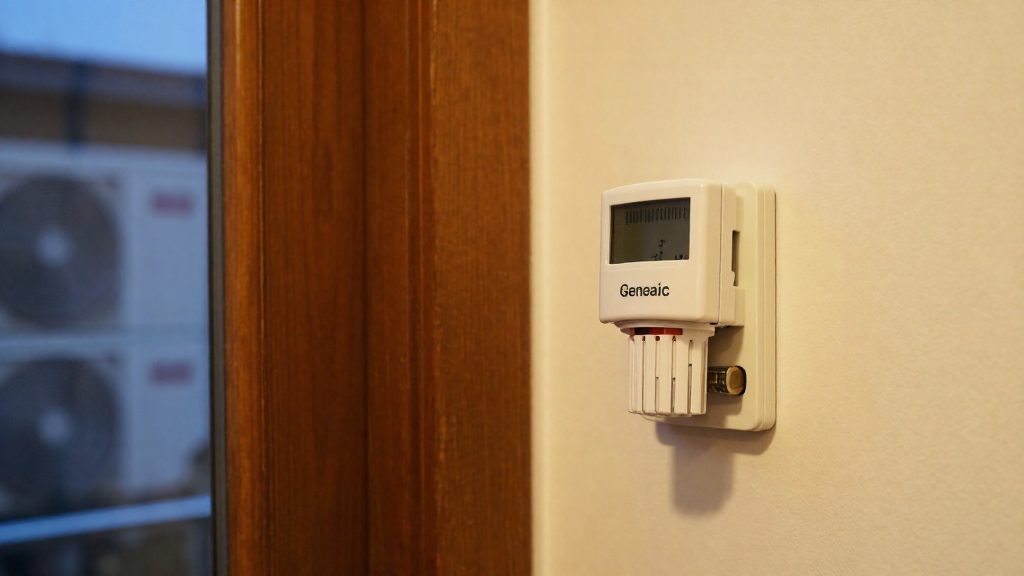
Wiring a heat pump thermostat: O/B, C-wire and aux
Heat pump wiring depends on three connections: the O/B terminal that controls the reversing valve, the C-wire that supplies continuous power, and the AUX/E terminals that call the backup heat source. Gearbrain (2026-05-07) reports that heat pumps typically use an O/B wire, that systems with fewer than four wires may need an adapter or rewiring, and that DIY installation takes about 15 to 30 minutes.
O/B terminal and reversing valve polarity
The reversing valve switches refrigerant flow between heating and cooling. The thermostat drives it through one wire, on either the O or the B terminal, and the two letters call for opposite valve polarities. Connect the wire to the terminal the equipment expects, then set the reversing-valve option in the thermostat’s installer settings to match. If the setting does not match the valve, the system heats when cooling is requested and cools when heating is requested. Confirm the correct letter in the equipment’s wiring diagram or the manufacturer’s instructions.
C-wire and power extender kit need
The C-wire (common) completes the control circuit, letting the thermostat stay powered without drawing charge through the heating or cooling control wires. Daikin (2026) notes that without a C-wire, a power extender kit may be needed. Your options depend on what the wiring and the model provide:
| Situation | Action |
|---|---|
| Existing C-wire present | Connect it to the C terminal. No extra hardware is needed. |
| No C-wire, model includes a Power Extender Kit | Use the included kit. |
| No C-wire, model needs continuous power | Install a power extender kit, as Daikin (2026) notes may be necessary. |
| Fewer than four wires in the wall | An adapter or rewiring may be needed (Gearbrain, 2026-05-07). |
AUX/E terminal connections
The AUX (auxiliary) and E (emergency) terminals connect the thermostat to the backup heat source, such as electric resistance strips or a furnace in a dual-fuel setup. Support varies by model.
Identify which wire the air handler or furnace uses for backup heat before connecting to AUX or E. A backup wire left unconnected means the thermostat cannot call the backup stage.
Features that matter for heat pumps
A heat pump thermostat has to control more than a single on/off call for heat. It must handle the number of heating and cooling stages the equipment provides, switch the reversing valve correctly, and bring in auxiliary heat at the right time.
Multi-stage heating and cooling
Stage count determines how finely the thermostat can match output to demand. A single-stage heat pump runs at one fixed capacity, while a multi-stage unit can run at a lower stage for mild weather and step up only when the house falls behind. Thermostats that support more stages can use the low stage longer, which generally keeps the compressor running steadily instead of cycling.
Remote room sensors for multi-zone averaging
A single thermostat reads temperature at one wall location. If that spot sits near a window, a supply register or a stairwell, the whole system responds to an unrepresentative reading. Remote room sensors solve this by sending temperature data from other rooms, which lets the thermostat average readings across zones. Confirm sensor support in the manufacturer’s specification before purchase, since a model without it cannot take this input.
Matter and Thread for local integration
Matter and Thread are the protocols that let a thermostat share data with other devices without relying solely on a cloud connection. Gearbrain (2026-05-07) reports that the Google Nest Learning Thermostat (4th gen) supports both Matter and Thread, and that the Mysa Smart Thermostat is Matter-certified. The ecobee Smart Thermostat Premium lacks Matter support, which limits its interoperability with hubs and platforms that rely on that standard.
Best smart thermostats for heat pumps
Four models show how heat pump support, price and protocol compatibility diverge; the Google Nest Learning Thermostat (4th gen) is covered below without a price.
Specifications compared
| Model | Price (USD) | Heat pump support | Protocol compatibility |
|---|---|---|---|
| Mysa Smart Thermostat | $159 | Up to 2 heating + 2 cooling stages, auxiliary heat | Matter-certified, no subscription |
| ecobee Smart Thermostat Premium | $259.99 | Dual-stage heat pump, dual-stage auxiliary heat | No Matter support |
| Amazon Smart Thermostat | $79.99 | No dual-fuel support | Alexa-only |
The Google Nest Learning Thermostat (4th gen) has no price in this comparison. Check the current retailer or manufacturer listing before buying.
Limitations by model
- Google Nest Learning Thermostat (4th gen): Its learning algorithm can trigger unwanted heat pump setbacks, so schedules that rely on automatic learning need monitoring after installation.
- ecobee Smart Thermostat Premium: Its lack of Matter support limits integration with Matter-only platforms.
- Amazon Smart Thermostat: It has no room sensors and no dual-fuel support, which makes it a weak match for multi-zone or dual-fuel heat pump systems.
How do you avoid costly auxiliary heat?
Auxiliary heat is the backup heat that a heat pump system engages when the heat pump alone cannot reach the target temperature, and it can add significantly to heating cost. According to Gearbrain (May 2026), three settings are worth tuning: the depth of temperature setbacks, the threshold at which auxiliary heat starts, and the deadband around the setpoint. Keeping these conservative lets the heat pump do most of the work.
Keep schedule setbacks small
Lowering the temperature while you are away or asleep saves energy only if the house can recover without help. Gearbrain recommends setbacks of 2 to 3°F. A deeper setback forces a steep climb when the schedule ends, and a heat pump recovering from that drop often pulls in auxiliary heat to reach the setpoint quickly. A shallow setback keeps the recovery within the heat pump’s own output.
Set the auxiliary heat starting threshold
The starting threshold is the difference between the setpoint and the room temperature at which the thermostat activates auxiliary heat. Gearbrain suggests a threshold of 3 to 4 degrees. A wider gap gives the heat pump more time to close the difference alone, while a narrower gap switches the backup on early. Some menus express this as an offset from the setpoint and others as a fixed value, so confirm which format your model uses before entering a number.
Widen the deadband to stop short cycling
The deadband is the range around the setpoint within which the system neither starts nor stops heating. Gearbrain suggests about 1 to 2°F. A narrow deadband makes the system switch on and off repeatedly near the target, a pattern called short cycling that wastes energy on every startup. A band of about 1 to 2°F helps prevent short cycling.
| Setting | Suggested value (Gearbrain, May 2026) | Effect on auxiliary heat |
|---|---|---|
| Schedule setback | 2 to 3°F | Limits steep recovery that pulls in backup heat |
| Auxiliary heat starting threshold | 3 to 4 degrees | Gives the heat pump time to close the gap alone |
| Deadband | About 1 to 2°F | Prevents on/off switching near the target |
Installing and testing your thermostat
A DIY install of a smart thermostat takes about 15 to 30 minutes, according to Gearbrain (2026-05-07). Most of that time goes to documenting the existing wiring, not to the physical work. Work in the order below so that any wiring mistake shows up during testing, not after the system has run unattended for days.
Step 1: Document the wiring before disconnecting
Before removing the old thermostat, photograph its faceplate and the wall plate with the cover off. Gearbrain (2026-05-07) recommends photographing existing wiring, because heat pump systems typically use an O/B wire to control the reversing valve, and the old labels are the only reliable record of which conductor sits on which terminal. Photograph the terminal block from several angles and note any wire that is not connected to a terminal. Do this before buying, so you can check the wiring against the model’s requirements.
Step 2: Cut the power
Switch off the breaker that feeds the heat pump air handler and the outdoor unit, not only the thermostat’s own power. Confirm the system is dead with a voltage tester before touching any conductor. Do not reconnect wires while the breaker is on.
Step 3: Mount and connect
Connect each conductor to the terminal matching your photograph, then mount the new base and attach the display. If a system has fewer than four wires, Gearbrain (2026-05-07) notes it may need an adapter or rewiring, so check this at the wiring stage, not after power-up.
Step 4: Test heating and cooling
Restore power, then run both modes. Daikin (2026) advises testing heating and cooling after installation to confirm the reversing valve is wired correctly.
| Mode | What to confirm | If it fails |
|---|---|---|
| Heat | Outdoor unit and indoor air handler start; supply air is warm | Heat runs in cooling mode: swap O/B conductor assignment |
| Cool | Outdoor unit and indoor air handler start; supply air is cool | Cooling runs in heat mode: swap O/B conductor assignment |
| Off | Both units stop | Recheck the wiring against the manufacturer’s instructions |
Step 5: Update firmware and pair the app
After mounting, check for firmware updates in the manufacturer’s app, then pair the thermostat to your account and any hub or voice assistant you use. Install the update before you set schedules, because pairing and firmware changes can reset local settings. Confirm the thermostat reports its status in the app and responds to a manual setpoint change before you leave it on an automated schedule.
Frequently asked questions
Do I need a C-wire to install a smart thermostat with a heat pump?
According to Daikin (2026), many smart thermostats need continuous power through a C-wire. If your system lacks one, a power extender kit may be required to keep the thermostat powered.
How long does installation take, and what should I check first?
Gearbrain (2026-05-07) estimates a DIY installation takes about 15 to 30 minutes. Before buying, photograph your existing wiring, since heat pumps typically use an O/B wire and systems with fewer than four wires may need an adapter or rewiring.
Why does my heat pump thermostat switch to auxiliary heat so often?
Gearbrain (2026-05-07) suggests a 3 to 4 degree starting threshold for auxiliary heat, which limits how often the backup heat engages. A deadband of about 1 to 2°F also helps prevent short cycling, where the system turns on and off too frequently.