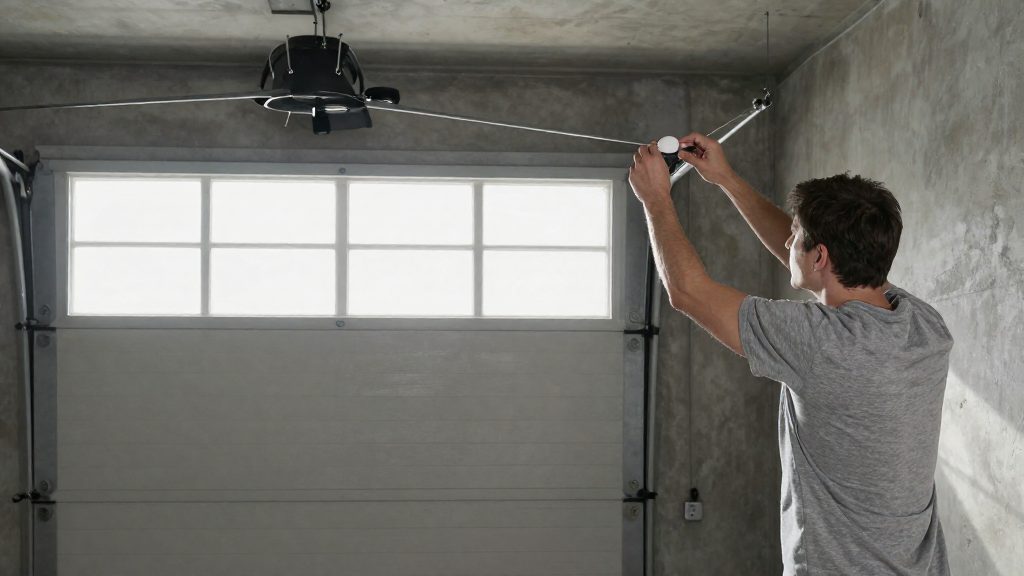
Closing a garage door automatically addresses one problem: a door left open when no one is home or no one remembers it. An open door gives unauthorized access to the garage and any internal door into the house, and in an attached or heated garage it lets conditioned air escape. An automation can close the door or send an alert when it is left open, but it supplements manual habits and does not replace them.
Why close a garage door automatically?
Common scenarios where the door is left open
- Leaving after the car has exited, with the door closing on a remote or wall button press that is never confirmed.
- Opening for a short task such as a delivery, bins or a quick errand, then walking away.
- Working in the garage or workshop and moving between rooms without checking the door.
- Returning late or after a trip while the door is still in the open position.
Security and energy loss as motivations
Security is the main reason. An open door is visible from outside and removes the barrier between the street and the garage. Energy loss matters only if the garage is attached to or heated along with the house. In that case, each hour the door stays open lets heated or cooled air out. No measured figures are available for this effect, so check your own setup before deciding how much weight to give it.
What automation can and cannot prevent
| Situation | Automation helps? | Reason |
|---|---|---|
| Door left open for an extended period while the owner is away | Yes | A timed close or alert acts without a manual step |
| Owner forgets to check after leaving | Yes, if the controller can detect the open state | Without state detection, the automation cannot act |
| Someone is standing in the doorway when the close starts | Not by itself | Closing moves the door; protection depends on the opener’s own safety features |
| Hub or connection is offline | No | The automation cannot run; manual controls must still work |
- Closing a door does not lock it. Locking requires a separate feature or device.
What do you need before automating?
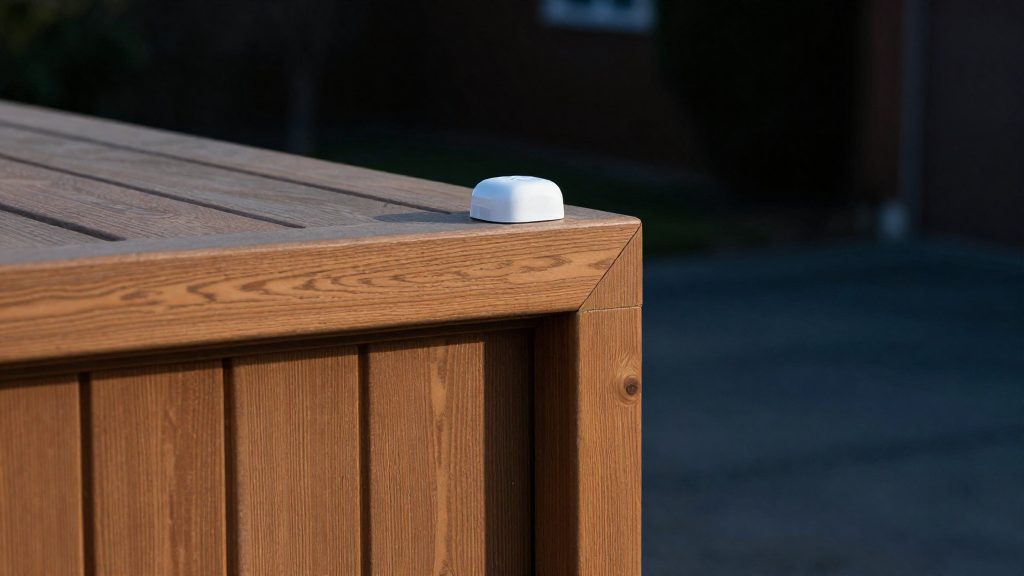
An automatic close is only as trustworthy as the state sensor that reports the door’s position. Without one, a controller sends commands but cannot confirm whether the door is open or closed, so the automation is effectively a remote toggle. Before buying hardware, decide how the door position will be detected, confirm that your opener works with the controller you plan to use, and choose the hub or platform that will run the logic.
Door state sensor: reed, tilt, or ultrasonic
Home Shift (2026) ranks the three common sensor types as follows:
| Sensor type | What it measures | Home Shift (2026) ranking |
|---|---|---|
| Reed switch | Contact between a magnet and a switch, which changes state at a fixed door position | Most reliable |
| Tilt sensor | Angle of the door panel | Second |
| Ultrasonic distance sensor | Distance from the sensor to the door | Third |
According to Home Shift (2026), reed switches are the most reliable choice for a state sensor.
Opener model and remote compatibility
Look up your opener’s model number on its label or in the manufacturer’s manual, then confirm the protocol before buying.
Hub or platform choice before buying hardware
The ratgdo board is described as ESPHome-based and fully local, meaning it does not depend on a vendor cloud service. Home Shift (2026) pairs it with Home Assistant. Choose the platform first, then the hardware that integrates with it.
Home Assistant’s myQ integration for Chamberlain openers was reportedly removed in version 2023.12 after Chamberlain blocked third-party access. This was seen only in search snippets and has not been confirmed, so check the current integration status before relying on any cloud-dependent opener integration.
How do you auto-close a garage door after a timer?
A timed close rule has three parts: start a countdown when the door reports open, send a close command if the door is still open when the countdown ends, and cancel the countdown if the door closes first. According to Home Shift (2026), a 10-minute timer that closes an open garage door is “the single most useful garage automation.” The rule works only if the controller knows the door’s actual state, so the trigger must come from a state sensor, not from the open or close command itself.
Timer start: door opens and remains open
The countdown should begin on the transition from closed to open, not at a fixed clock time. Build the rule around the open-state event from the state sensor, so the countdown starts whenever the door opens, whether it was opened by a remote, the wall button, or a schedule.
The 10-minute delay example
The 10-minute value is the example given by Home Shift (2026). The delay gives the door time to stay open during normal use, and the close command fires only if the door is still open when the timer expires.
| Event | Timer action | Result |
|---|---|---|
| Door changes from closed to open | Start 10-minute countdown | Countdown running |
| Door still open at 10 minutes | Send close command | Door closes |
| Door closes before 10 minutes | Cancel countdown | No close command sent |
Re-open reset: cancelling the timer on closure
When the door closes before the countdown ends, the cancel step must clear the pending timer. Otherwise, an old countdown can fire later and close a door that was already shut. If the door reopens, the rule starts a new countdown from zero, so each open event gets its own full delay.
Can a smart plug act as a timer?
A smart plug can run a timed step, but it cannot see whether the door is open. In the forum-reported workaround, the plug only supplies the clock. The door state has to come from a separate sensor or signal. The workaround is also unconfirmed: the author does not own the Garage Door Controller, so its triggers have not been verified for that product (Wyze Forums, 2024-11-30).
The forum workaround and its limits
The workaround uses two automations:
- When the door opens, the automation turns the smart plug on.
- When the plug has been on for a set number of minutes, a second automation turns it off and closes the door.
The plug’s on-time acts as the timer. Its limits are:
- Unconfirmed triggers: The post does not show that the plug’s state change actually closes the door on any given opener.
- No feedback: If the door was already closed, or the opener did not respond, the plug still completes its cycle.
- Unverified product fit: The post comes from a user without the Garage Door Controller, so it cannot confirm how that device behaves.
Why a plug cannot read door state
A smart plug switches power to the device plugged into it and reports its own on/off state. It has no input that tells it whether the door is up or down. Door state needs a dedicated sensor, such as a reed switch, tilt sensor or ultrasonic distance sensor. A guide from Home Shift (2026) states that without a state sensor, a smart garage door is “just a remote toggle”, and ranks reed switches as the most reliable option.
Power cut versus pulse
| Signal | What it does | What it cannot confirm |
|---|---|---|
| Power cut or restore (plug on/off) | Changes power to whatever is plugged in | Whether the opener moves the door |
| Pulse to a wall button or remote input | Mimics a button press, which toggles the door | Current position, unless paired with a sensor |
A plug controls power, not the button circuit. Whether cutting power to an opener closes the door depends on the opener’s design, so check the manufacturer’s manual before relying on it.
Home Assistant: notify first, then close
This setup checks the garage door at 9 pm, sends a phone alert if the door is open, and closes it only after you confirm. A daily check with an IKEA Parasoll magnetic sensor works as a reminder. According to How-To Geek (2025-12-27), the check can run each evening, test whether the door sensor is open, and send a phone notification. The same guide describes it as a reminder, not an automatic close. Adding a confirmation step turns that reminder into a close action that runs only when you approve it. Home Shift (2026) also advises warning people before any automated close, so the alert should reach everyone who uses the garage.
Daily 9 pm check with an IKEA Parasoll sensor
- Create a time trigger at 21:00:00 in a Home Assistant automation.
- Add a condition that the door’s contact sensor reports open. The Parasoll is a magnetic contact sensor, so check its open state in Developer Tools > States before you write the condition, because the value can differ between setups.
- Keep the automation limited to the notification and confirmation steps at this stage.
Critical phone alert in the companion app
- Send the notification to your phone’s entity in the Home Assistant Companion App (for example,
notify.mobile_app_your_phone). - For iOS, set
push: interruption-level: criticalin the notification data. Critical alerts depend on the notification permissions granted to the app on the phone, so check the app’s notification settings after setup. - Add two action buttons, one labelled “Close door” and one labelled “Keep open”, so the phone returns a response you can use in the automation.
Confirmation step before the close action
Use wait_for_trigger to pause the automation until the phone returns the “Close door” action. The example below uses placeholder entity names and an example timeout, so replace them with your own values.
alias: Garage open at 21:00 - notify, then close on confirm
trigger:
  - platform: time
    at: "21:00:00"
condition:
  - condition: state
    entity_id: binary_sensor.garage_door_contact   # placeholder
    state: "on"                                    # open state as your sensor reports it
action:
  - service: notify.mobile_app_your_phone          # placeholder
    data:
      title: Garage door is open
      message: Close it now?
      data:
        push:
          interruption-level: critical
        actions:
          - action: GARAGE_CLOSE
            title: Close door
          - action: GARAGE_KEEP
            title: Keep open
  - wait_for_trigger:
      - platform: event
        event_type: mobile_app_notification_action
        event_data:
          action: GARAGE_CLOSE
    timeout: "00:10:00"                            # example value, choose your own
    continue_on_timeout: true
  - if:
      - condition: template
        value_template: "{{ wait.trigger is not none }}"
    then:
      - service: cover.close_cover
        target:
          entity_id: cover.garage_door             # placeholder
The if block closes the door only when wait.trigger holds a value. The table shows how each outcome plays out.
| Phone response | Automation result |
|---|---|
| “Close door” tapped before the timeout | wait.trigger holds a value, and the close action runs |
| “Keep open” tapped | The event does not match GARAGE_CLOSE, so the wait ends at the timeout and the door stays open |
| No response before the timeout | wait.trigger is empty, and the door stays open |
Which controllers work with Canadian openers?
Compatibility depends on the opener’s brand, model and control protocol, not on the country where it is sold. The controller named in the available material is the ratgdo board, an ESPHome-based device that runs fully locally. According to Home Shift (2026), it works with Security+ 2.0 openers from LiftMaster, Chamberlain and Craftsman. That guide is not from a clearly recognized specialist publication and gives only a year, so treat its compatibility claim as something to verify, not as established.
Ratgdo board: pricing
- Home Shift lists the board at about €30. That figure is in euros and is not a Canadian price, so do not use it for budgeting.
- Check the current price and shipping to Canada directly on the manufacturer’s site or with a Canadian retailer.
Opener protocol and wiring check
Confirm these three points before buying any controller:
- Brand and model: read them from the opener’s label or owner’s manual.
- Protocol: check whether the opener uses Security+ 2.0, the protocol the ratgdo compatibility claim assumes, or another system. The manual’s accessories or compatibility section usually states this.
- Wiring: compare the logic board terminals and wall console connections with the manufacturer’s wiring diagram.
Manufacturer documentation as the compatibility source
Retailer listings, guides and forum posts are not a reliable basis for compatibility. Use the opener manufacturer’s manual and the controller maker’s published compatibility list as the primary reference. If neither names your exact model, contact the manufacturer’s support before purchase.
Chamberlain’s myQ cloud access for third-party platforms has been reported as restricted, but this was not confirmed. Check its current status with Chamberlain before relying on any cloud-based integration.
Is it safe to close the door automatically?
Unattended closing is only as safe as the opener’s own protection. When nobody is present to notice an obstruction, the obstruction detection built into the opener is the main safeguard against the door closing on a child, a pet, or a vehicle. Before enabling any automatic close, confirm that the door stops and reverses on contact, then confirm that your local rules permit unattended closing for your opener.
Run the box test before enabling automation
The Home Shift guide (2026) recommends placing a box under the closing door to confirm that the opener reverses. Run the test with the automation disabled so that you control every close.
| Step | Action | Pass condition |
|---|---|---|
| 1 | Place a sturdy cardboard box on the floor in the door’s path | The box sits inside the closing zone |
| 2 | Close the door with the opener’s wall button or remote | The door stops and reverses when it contacts the box |
| 3 | Repeat the test after any opener adjustment or door change | Reversal happens every time |
Understand the photo-eye and reversing sensor
Most residential openers use a photo-eye: a pair of infrared sensors mounted near the bottom of the door track, facing each other across the opening. If the beam is interrupted while the door is closing, the opener stops and reverses. Check the manufacturer’s manual for the photo-eye’s mounting height and alignment, and confirm that neither sensor is blocked by cobwebs, paint, or sunlight glare.
A smart state sensor, such as a reed switch, tilt sensor, or ultrasonic sensor, only reports whether the door is open or closed. It does not stop or reverse the door. Protection against obstructions depends on the opener’s own photo-eye and force-reversal system, not on the smart add-on.
Confirm local rules and the opener’s safety status
This guide did not verify Canadian rules on automatic closing and entrapment protection (CSA / UL 325, Health Canada guidance), so do not assume that unattended closing is permitted or compliant for your opener. To confirm your situation:
- Read the opener’s manual and product label for statements about safety compliance and entrapment protection.
- Contact the local building authority or the opener manufacturer and ask whether unattended automatic closing is permitted for your model.
- Keep the manual’s safety instructions with the opener so that they are available if the setup changes.
Troubleshooting and fallback options
A smart garage automation should add control without removing the original ways to operate the door. When it fails, the wall button and remotes must still work, the sensor state must match the real door position, and each failed run must leave a record you can review.
Keeping the wall button and remotes functional
Home Shift (2026) advises keeping the wall button and remotes working alongside smart controls. Practically, this means:
- Keep the original wall station wired to the opener’s terminals. Do not replace it with a smart device that becomes the only way to move the door.
- Keep the existing remotes paired and their batteries charged, so the door can be closed by hand if the automation or hub is offline.
- After each change, test every control: press the wall button, press each remote, and confirm the door moves in both directions.
- Test the fallback while the smart controller is unplugged or disconnected from your network. The wall button should still operate the door.
Sensor state mismatches and false open readings
The automation depends on the sensor’s reported state. A false open reading occurs when the app shows the door as open while it is physically closed, which can trigger a close command that is unnecessary or repeated.
Common causes to check, using the sensor manufacturer’s instructions:
- Alignment and gap: the magnet and sensor must sit within the distance the manufacturer specifies. Misalignment on a moving panel can cause the sensor to report open when the door is closed.
- Mounting surface: a sensor fixed to a flexing part of the door or frame can change position over time.
- Battery level: a weak battery can produce erratic states or missed updates. Check the battery in the device or hub app.
- Contact logic: if the integration maps the contact state the wrong way round, open and closed will appear inverted.
Logging and reviewing failed automation runs
Review failures with the platform’s own history before changing settings. In Home Assistant, the automation trace shows which trigger fired, which conditions passed or failed, and which actions ran. For each failed run, record:
- the time the trigger fired;
- the sensor state at that moment;
- whether the close command was sent;
- whether the sensor state changed afterward.
An independent check gives a second record. If it notifies you while the door is physically closed, the sensor reading is the likely fault.