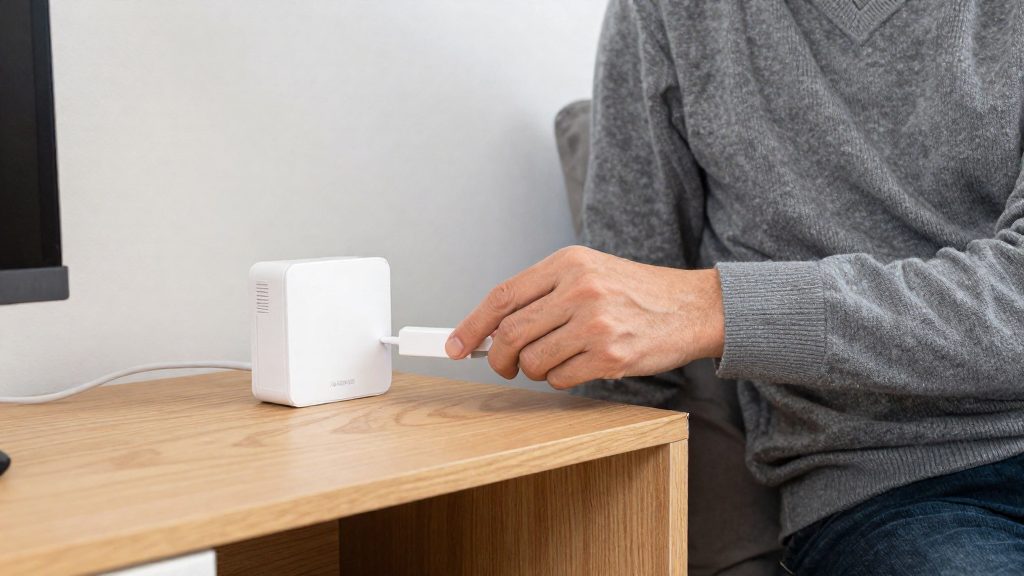
Before any Zigbee pairing starts, you need a zigpy-compatible radio connected to Home Assistant, a restart after connecting it, and a network with one coordinator that no other application is using. Home Assistant (2026) lists these conditions as prerequisites for configuring ZHA, so checking them first prevents a pairing attempt from failing for a reason unrelated to the device itself.
What do you need before adding Zigbee devices to Home Assistant?
A zigpy-compatible radio
The Zigbee radio, which acts as the network coordinator, must be compatible with the zigpy library. Confirm compatibility in the documentation before buying or reusing a radio, since a non-compatible radio cannot serve as the coordinator. Home Assistant (2026) states this as a requirement that applies before any device is added.
A restart after connecting the radio
Connect the radio first, then restart Home Assistant. According to Home Assistant (2026), the restart comes before you configure ZHA. Skipping it means the newly connected radio may not be ready when you open the Zigbee settings, so restart even if the radio appears to be detected.
One coordinator per Zigbee network
A Zigbee network can have only one coordinator. Do not attach a second coordinator to the same network, because the network is defined by its single coordinator. If you already run a Zigbee network, keep one coordinator for it and plan any change of radio as a replacement rather than an addition.
Exclusive use of the radio
No other application can use the coordinator at the same time. Any other program that opens the same radio, including another Zigbee gateway’s software running on the same machine, blocks Home Assistant from accessing it. Close or disable such software before you start, and make sure only one application is connected to the radio.
Summary of prerequisites
| Requirement | Rule | Action before pairing |
|---|---|---|
| Radio compatibility | Must be compatible with the zigpy library | Verify compatibility before use |
| Restart | Required after connecting the radio, before configuring ZHA | Restart Home Assistant |
| Coordinator count | One coordinator per Zigbee network | Attach only one coordinator |
| Radio access | No other application may use the coordinator | Close other software that uses the radio |
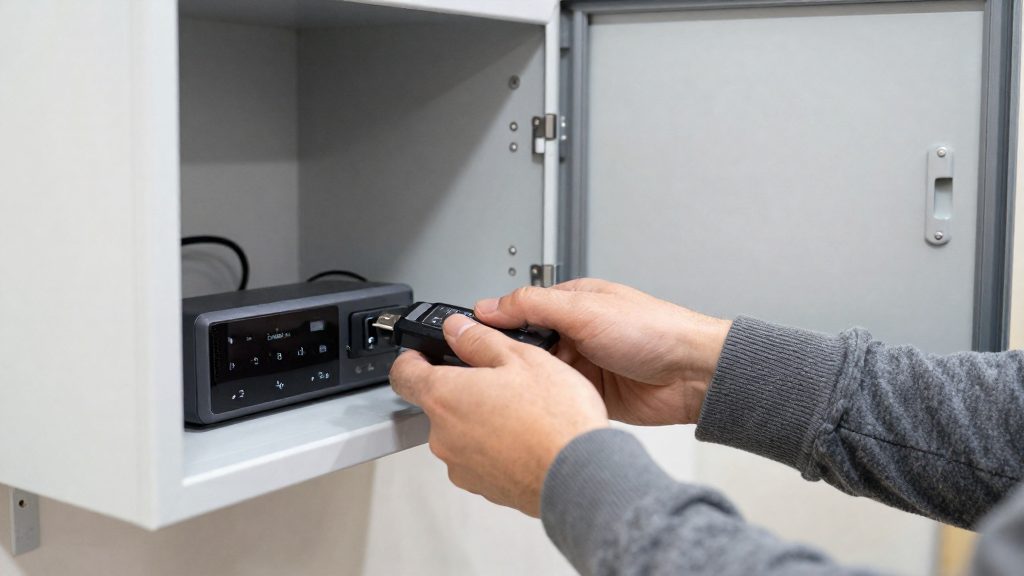
Choosing a Zigbee coordinator
The coordinator is the USB radio that Home Assistant uses to form and manage the Zigbee network, so the choice of adapter determines which hardware support you get. Home Assistant recommends the Home Assistant Connect ZBT-2 for a new Zigbee network. The Connect ZBT-1 is discontinued but still fully supported, so an existing setup built on it does not need to be replaced. Home Assistant also lists several tested adapters from other manufacturers that work with its Zigbee integration, ZHA. These are the SONOFF ZBDongle-E, the SMLIGHT SLZB-07 and the ConBee III.
| Adapter | Status according to Home Assistant (2026) |
|---|---|
| Home Assistant Connect ZBT-2 | Recommended for a new Zigbee network |
| Home Assistant Connect ZBT-1 | Discontinued, still fully supported |
| SONOFF ZBDongle-E | Tested alternative |
| SMLIGHT SLZB-07 | Tested alternative |
| ConBee III | Tested alternative |
The adapters in the last three rows are non-official adapters. Their firmware is updated with the manufacturer’s own tools, not through Home Assistant. Before buying one, check where the manufacturer publishes its update utility and confirm you can run it on your operating system, because you will need it to keep the radio current.
To choose, start from your situation:
- New network, no existing Zigbee devices: the ZBT-2 is the option Home Assistant recommends.
- Already running a ZBT-1: keep it. Its discontinued status does not affect support.
- Want a non-official option: pick one of the tested adapters above and plan for manufacturer-based firmware updates.
How to set up ZHA
Setting up ZHA takes three steps in the integration flow: select the coordinator’s serial port, create a new Zigbee network, and confirm in the logs that the radio started without errors. According to SONOFF (2026), ZHA appears under Settings > Devices & Services after the adapter is plugged in, and you can also add it manually if it does not show up.
Selecting the radio serial port
The ZHA setup asks you to choose the serial port that the adapter uses. If only one port is listed, confirm that it belongs to your adapter. If several are listed, match the entry to the adapter’s model name or identifier, which is usually shown in the port description. Choose the radio type that corresponds to your adapter, using the manufacturer’s documentation if the names are unclear.
If your adapter is missing from the list, see the adapter list in the previous section.
Forming the Zigbee network
On a fresh setup, choose Create Network when prompted. ZHA then creates the network and starts the coordinator with it. Once the network is formed, ZHA opens the Zigbee menu, where you can add devices.
| Stage | Action | Expected result |
|---|---|---|
| Port selection | Select the adapter’s serial port | ZHA connects to the coordinator |
| Network creation | Choose Create Network | The coordinator starts a new Zigbee network |
| Start check | Open the ZHA integration page | The coordinator is listed and the network is active |
Checking the ZHA logs for radio errors
If the integration fails or the coordinator does not respond, check the Home Assistant logs for errors about the serial port or the radio. Possible causes include a wrong port selection, a port in use by another program, or a device Home Assistant cannot access. Reselect the port, stop the competing software, or reconnect the adapter, then restart the integration and check the logs again.
How do you pair a Zigbee device?
To pair a Zigbee device with Home Assistant, go to Settings > Connectivity > Zigbee and select Add device. Then factory-reset the device according to the manufacturer’s instructions and wait for it to appear in the list. The sequence is the same for every brand, but the reset method is not.
| Step | Action | Where |
|---|---|---|
| 1 | Open the Zigbee page and select Add device | Settings > Connectivity > Zigbee |
| 2 | Factory-reset the device | Per the manufacturer’s instructions |
| 3 | Wait for the device to appear, then confirm it | Device list |
If your setup follows the SONOFF walkthrough, the path is slightly different. The Zigbee integration appears under Settings > Devices & Services, and devices are added from ZHA > Add Device. Each device must be put into pairing mode before the search runs. For a smart plug, the walkthrough calls for holding the button for about 5 seconds.
Pair one device at a time. A single new entry is easier to identify in the list, and it makes it clear which device the reset affected if a pairing attempt does not complete.
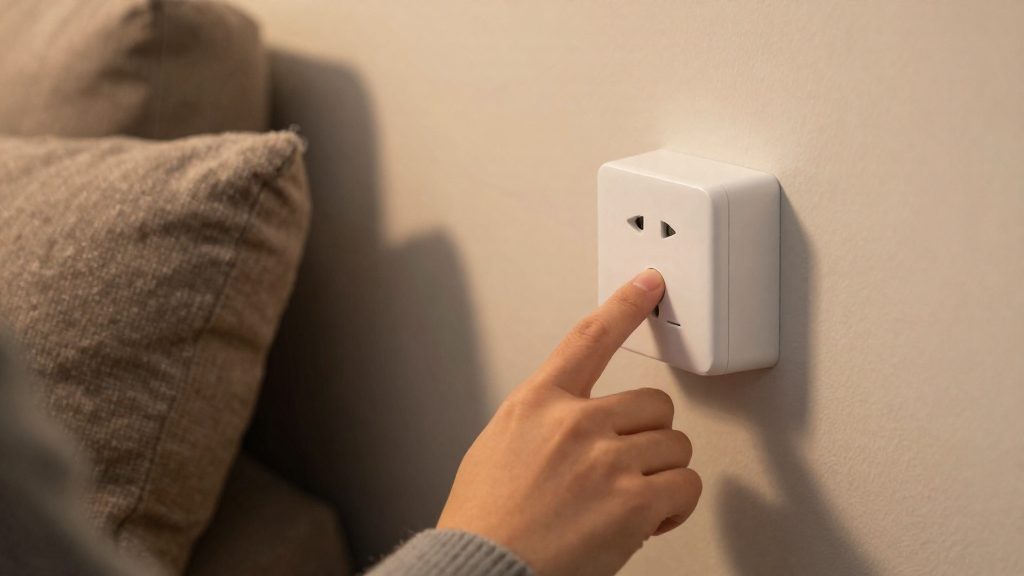
Add routers first to build a stronger mesh
Zigbee devices do not all contribute equally to the network. According to Home Assistant (2026), mains-powered Zigbee devices usually act as routers that extend range, so they should be added before battery-powered devices. Battery-powered sensors, buttons and remotes are the devices that join afterward, and they benefit from routers that are already online.
Pairing order matters because each router that joins gives later devices another path to the coordinator. Pair the mains-powered devices first, then the battery-powered ones.
| Device type | Power source | Usual role in the mesh | Pairing order |
|---|---|---|---|
| Smart plugs and mains switches | Mains | Router | First |
| Mains-wired lights | Mains | Router | First |
| Battery sensors, buttons and remotes | Battery | End device that joins through routers | After the routers |
The coordinator is the other half of the calculation. Home Assistant (2026) states that the coordinator accepts up to 32 direct children. Devices beyond that limit do not need to connect directly to the coordinator. The network can reach many more devices through routers, so the number of routers you add determines how far the mesh can extend.
To check the result, open the ZHA network map through the three-dot menu and select View Network. According to SONOFF (2026), the map shows the coordinator, routers and end devices, with LQI values for each link. After each new router joins, confirm that it appears in the map and note its LQI value, since a higher LQI indicates a stronger link. Add the next router only once the previous one is listed, so that any device that fails to join can be traced to a specific step.
Avoiding interference and channel changes
Home Assistant’s guidance on reducing interference covers three points: where the coordinator sits, how it is cabled to the computer, and whether its channel has been changed. Home Assistant’s guidance addresses all three.
Placing the adapter
Interference comes from nearby electrical and radio sources, so keep the coordinator away from:
- Wiring
- Power supplies
- Appliances
- Wi-Fi access points
Keeping the adapter away from these sources reduces interference, so use a long shielded USB extension cable to move it if needed.
Cabling and USB port choice
Use a shielded USB extension cable to position the adapter away from interference sources without moving the computer. Choose the port carefully:
| Setup | Recommendation |
|---|---|
| Computer has a free USB 2.0 port | Connect the adapter directly to it |
| Computer has only USB 3.x ports | Connect the adapter to a powered USB 2.0 hub, plugged into a USB 3.x port |
| Adapter sits near wiring, power supplies or Wi-Fi access points | Use a long shielded USB extension to move it away |
Channel selection
The default channel is the recommended setting. If you must change it, the Smart channel option lets ZHA choose the best available channel. For a manual choice, stay on channels 15, 20 or 25.
Why won’t my Zigbee device pair?
A Zigbee device that does not pair may still be joined to another Zigbee network, may have a weak signal path to the coordinator, or may be affected by a recent channel change. Check these possible causes in turn.
A device still bound to a previous network
A device that is still attached to an old hub or a previous ZHA setup will not join the new network while it keeps that old attachment. Home Assistant (2026) directs you to factory-reset the device according to the manufacturer’s instructions and then wait for it to appear. If it still does not appear, move on to the signal and channel causes below.
Signal too weak from distant or unpowered routers
Mains-powered Zigbee devices usually act as routers that extend range, according to Home Assistant (2026). Mains-powered devices usually act as routers, while battery-powered devices generally do not, so a device placed far from any mains-powered router may have no usable path to the coordinator. A mains-powered router that is unplugged or switched off at its socket contributes nothing to the network.
Look for a powered router with a good LQI near the new device before you retry pairing.
| Check | Where to look | What it tells you |
|---|---|---|
| Router presence | ZHA network map | Whether a mains-powered router sits near the device |
| Direct children | ZHA network map | The coordinator accepts up to 32 direct children; other devices reach it through routers |
Channel change and reconnection delay
A channel change can take up to one hour for devices to reconnect, so a device that fails to pair during that period may be waiting, not broken.
Frequently asked questions
How do I start pairing a Zigbee device in Home Assistant?
Go to Settings > Connectivity > Zigbee, select Add device, and factory-reset the device following the manufacturer’s instructions. Then wait for it to appear in the list.
Which devices should I add first?
Add mains-powered devices before battery-powered ones, because they usually act as Zigbee routers that extend range. According to Home Assistant (2026), the coordinator accepts up to 32 direct children, and routers allow the network to reach many more devices.
Which Zigbee radio should I buy for a new network?
Home Assistant (2026) recommends the Home Assistant Connect ZBT-2 for a new Zigbee network. The ZBT-1 is discontinued but still fully supported, and tested alternatives include the SONOFF ZBDongle-E, SMLIGHT SLZB-07 and ConBee III.